Show Templates
Now that you have followed the process to record your first video, we would like to invite you behind the scenes.
We have the concept of a Show Template. As a producer of the show, you get to decide the cast of the show and also the visual design elements needed for creating the video.
Select ‘Show Templates’ from the Menu.

We have set you up with a few show templates to get started. You can modify these show templates to use them in your shows or create your own.

New Show Template
Click on the + button to create a New Show Template.
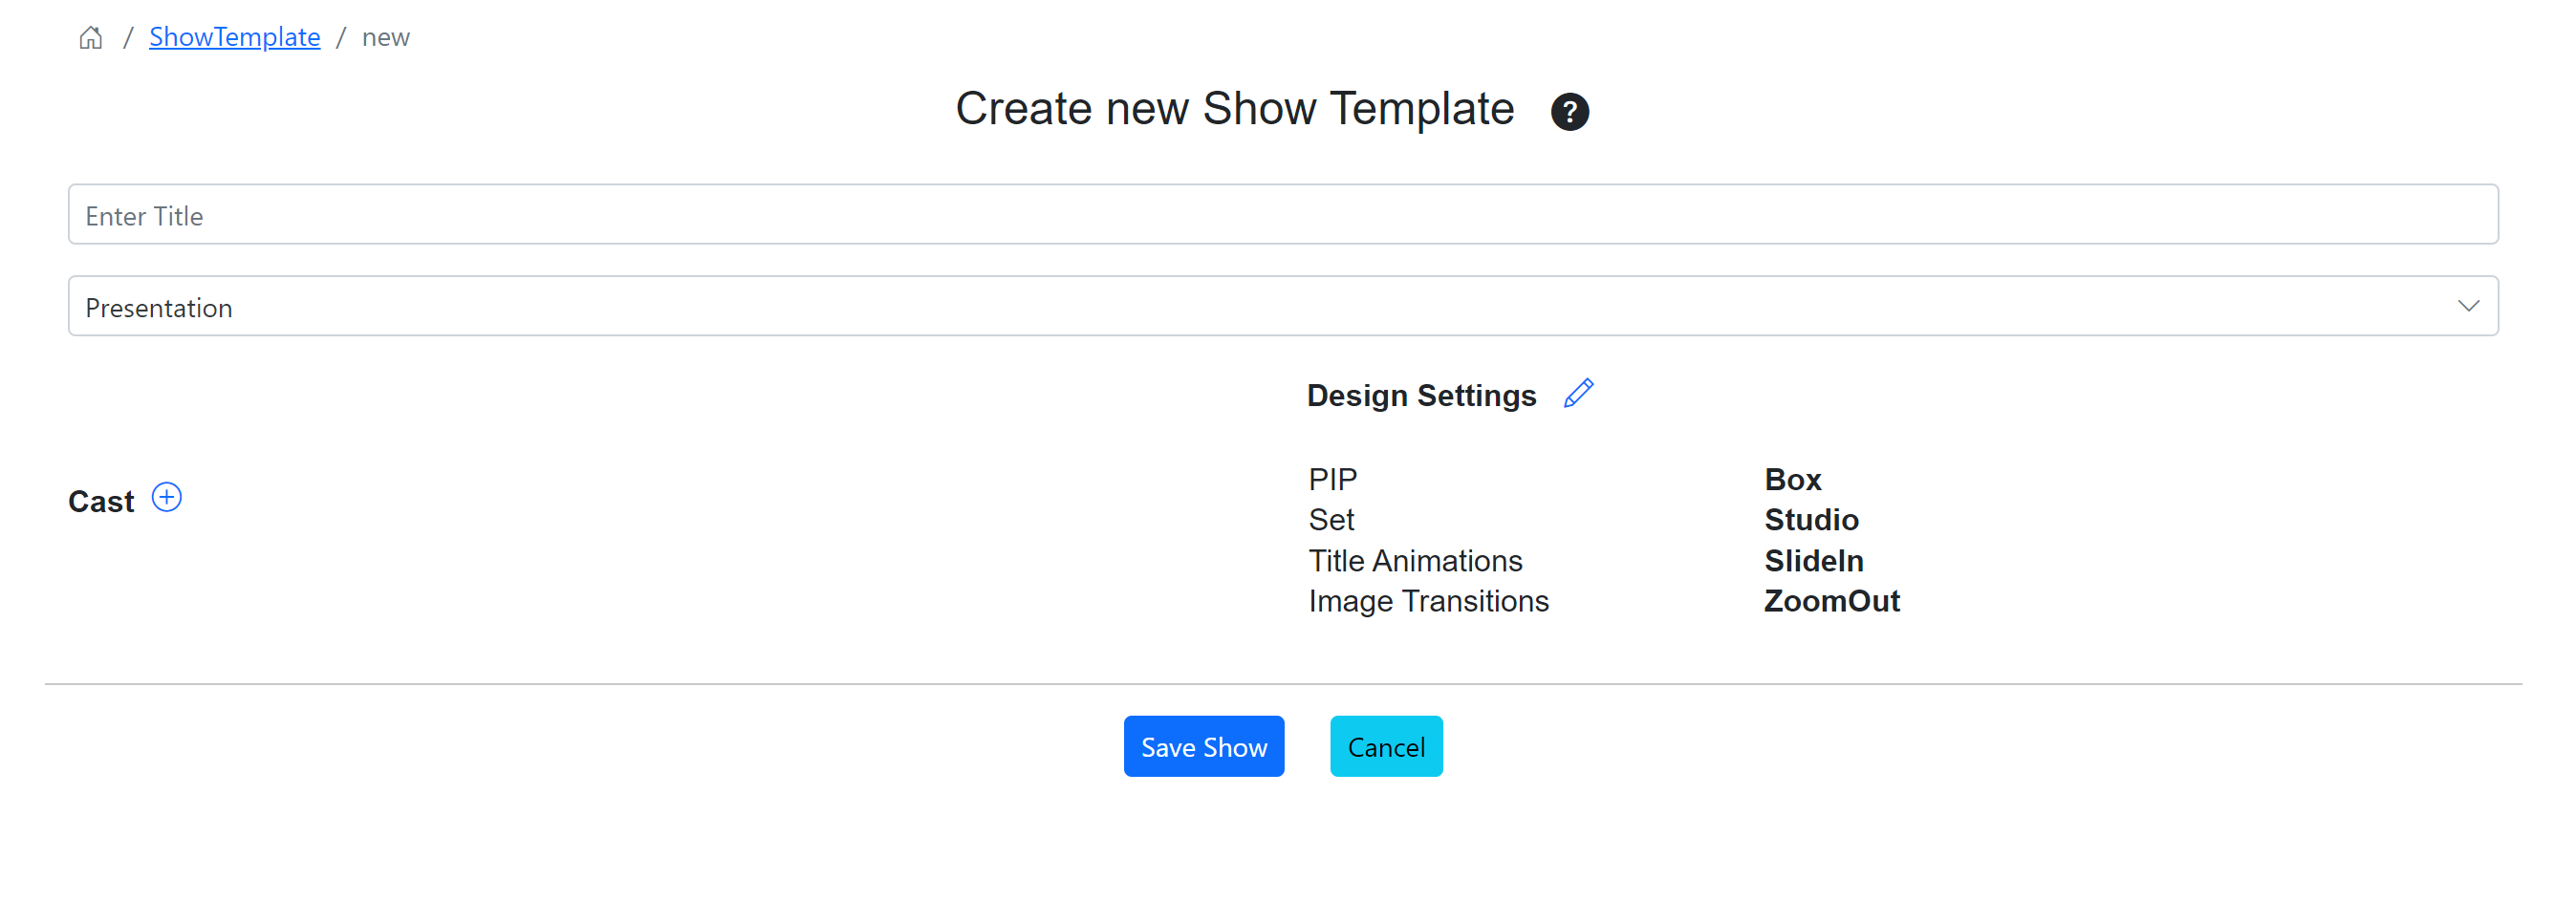
Think of the Show Template as a blueprint for the videos you will be creating.
Enter a title for the Show template.
Show Formats
Presentation
- Supports only one character in the video.
- Suited for news, commentary, educational course videos.
Conversation
- Supports only 2 characters in the video.
- Suitable for presenting content as a conversation between 2 people.
Next, choose your cast. Click on the + button next to the cast to add your first character.
Cast Selection
We have a wizard which will guide you through the setup process.
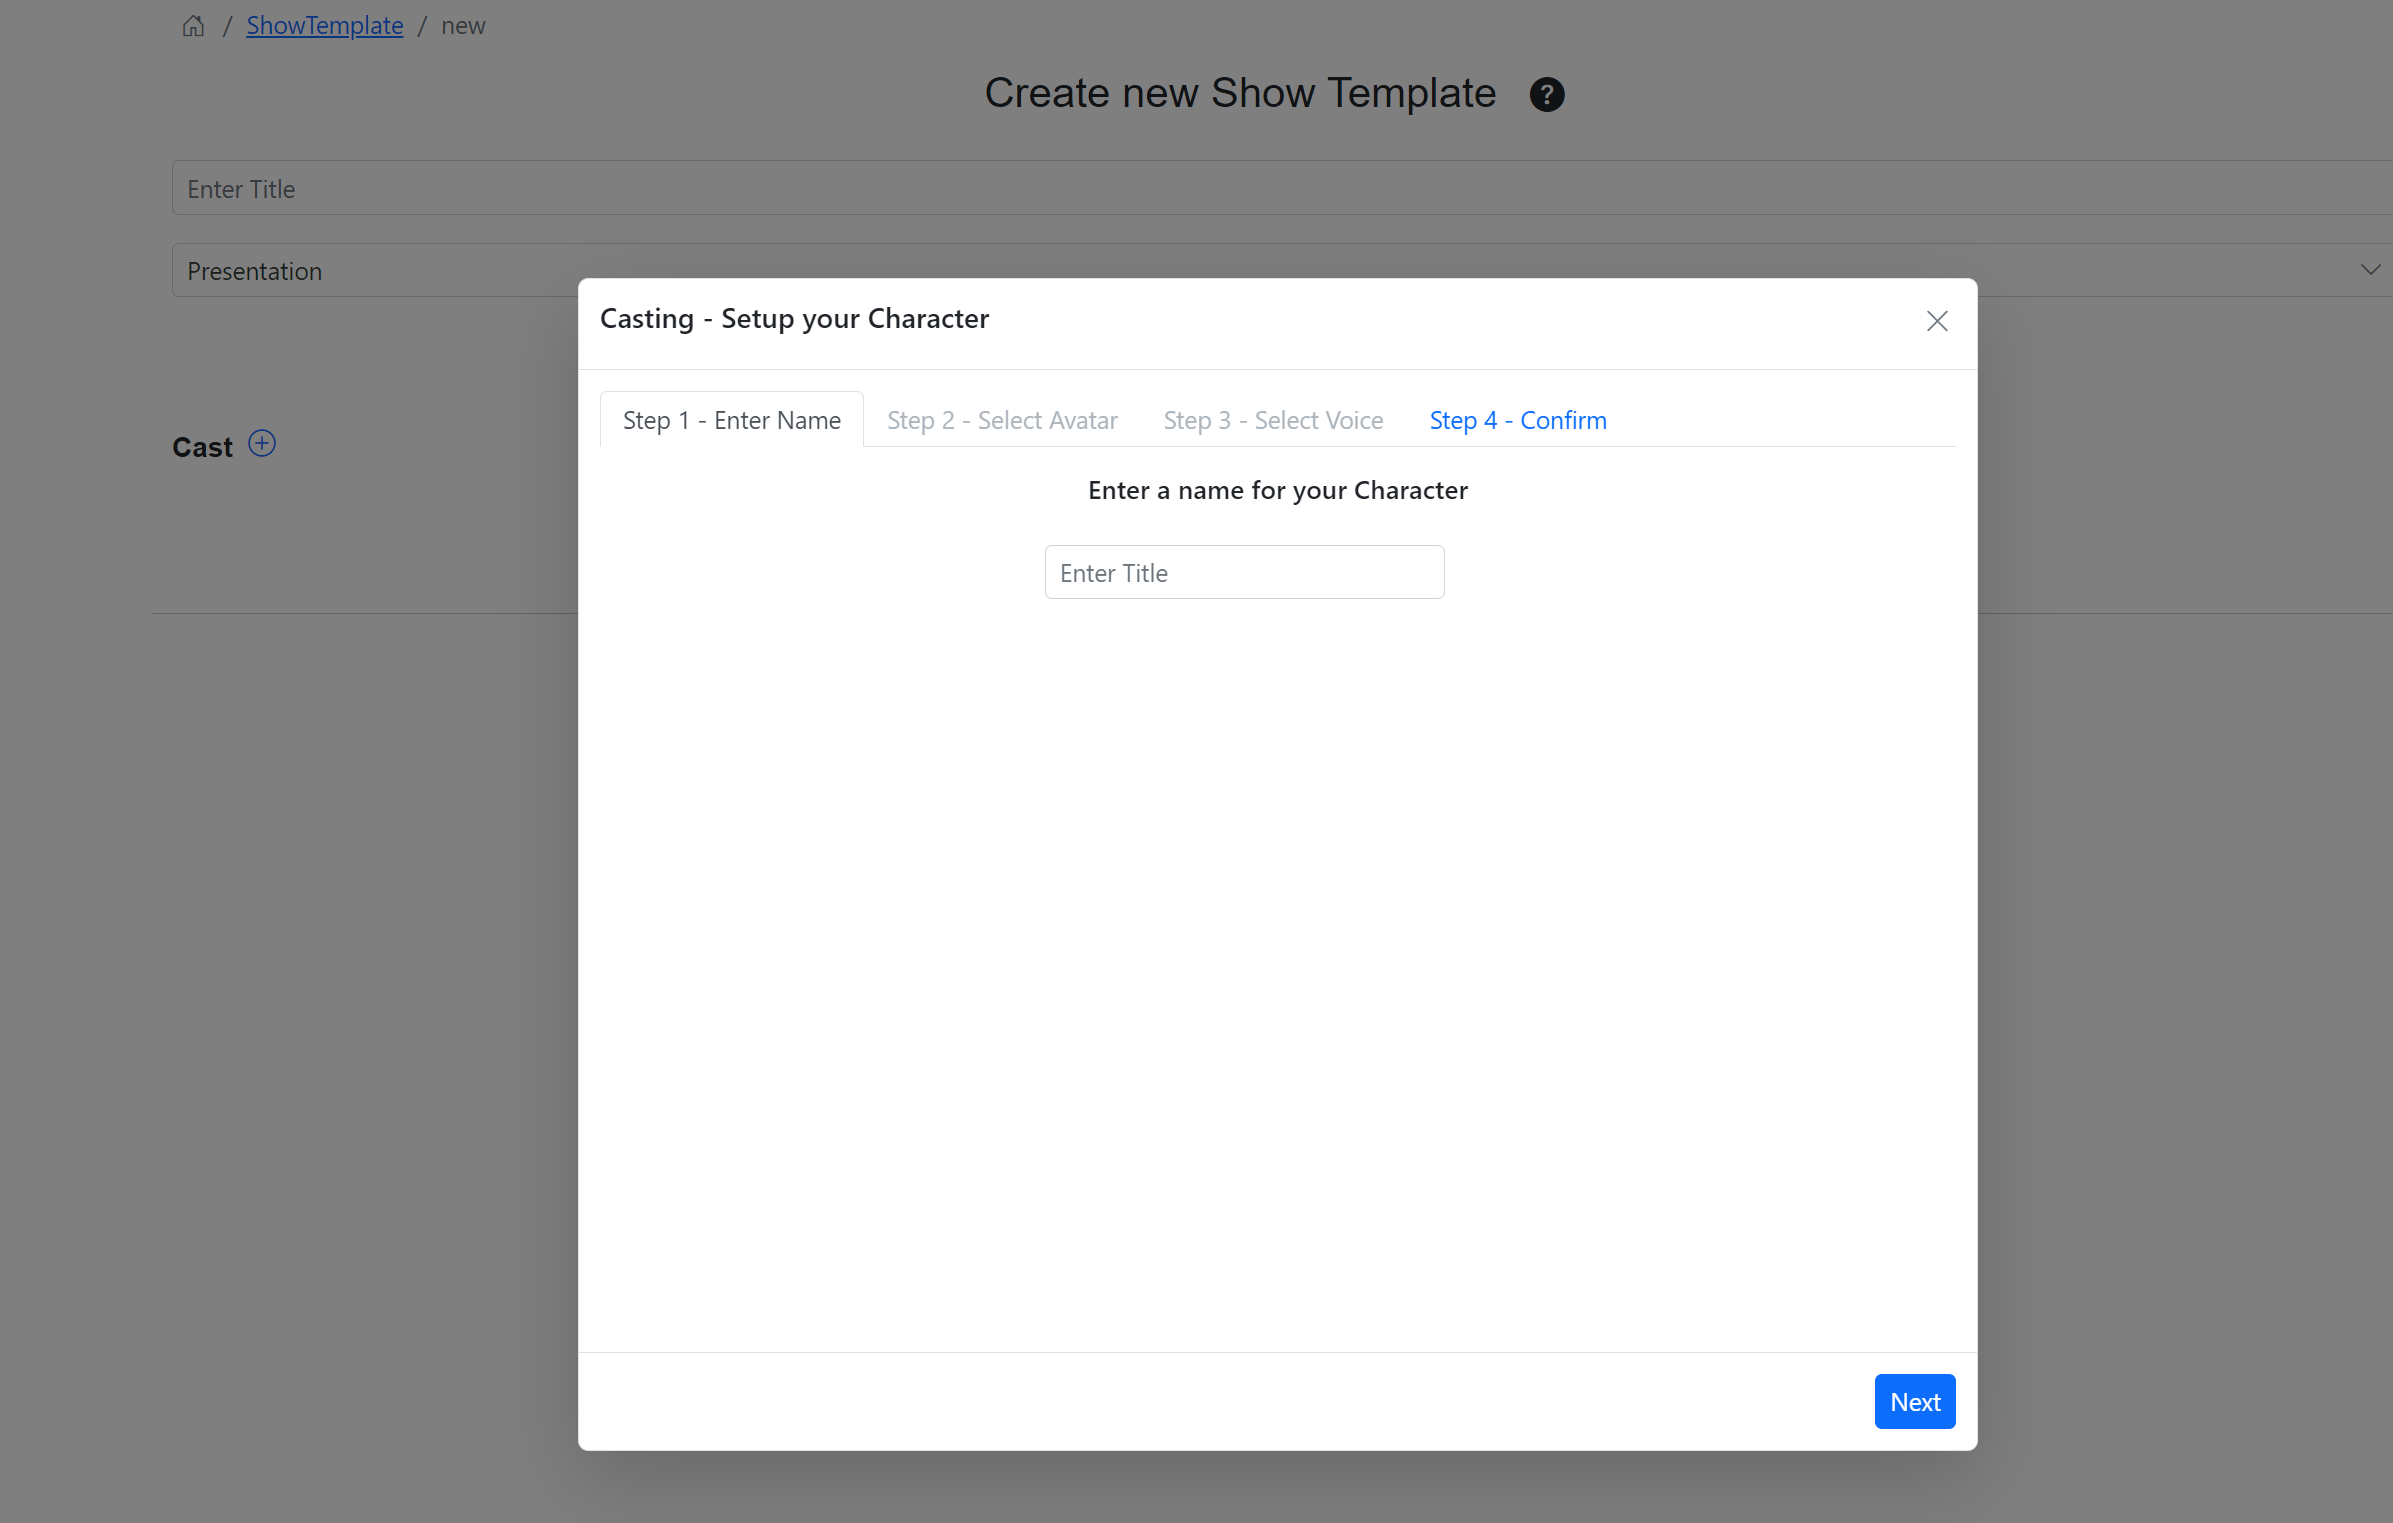
Step 1: Enter a name for your character. Click Next.
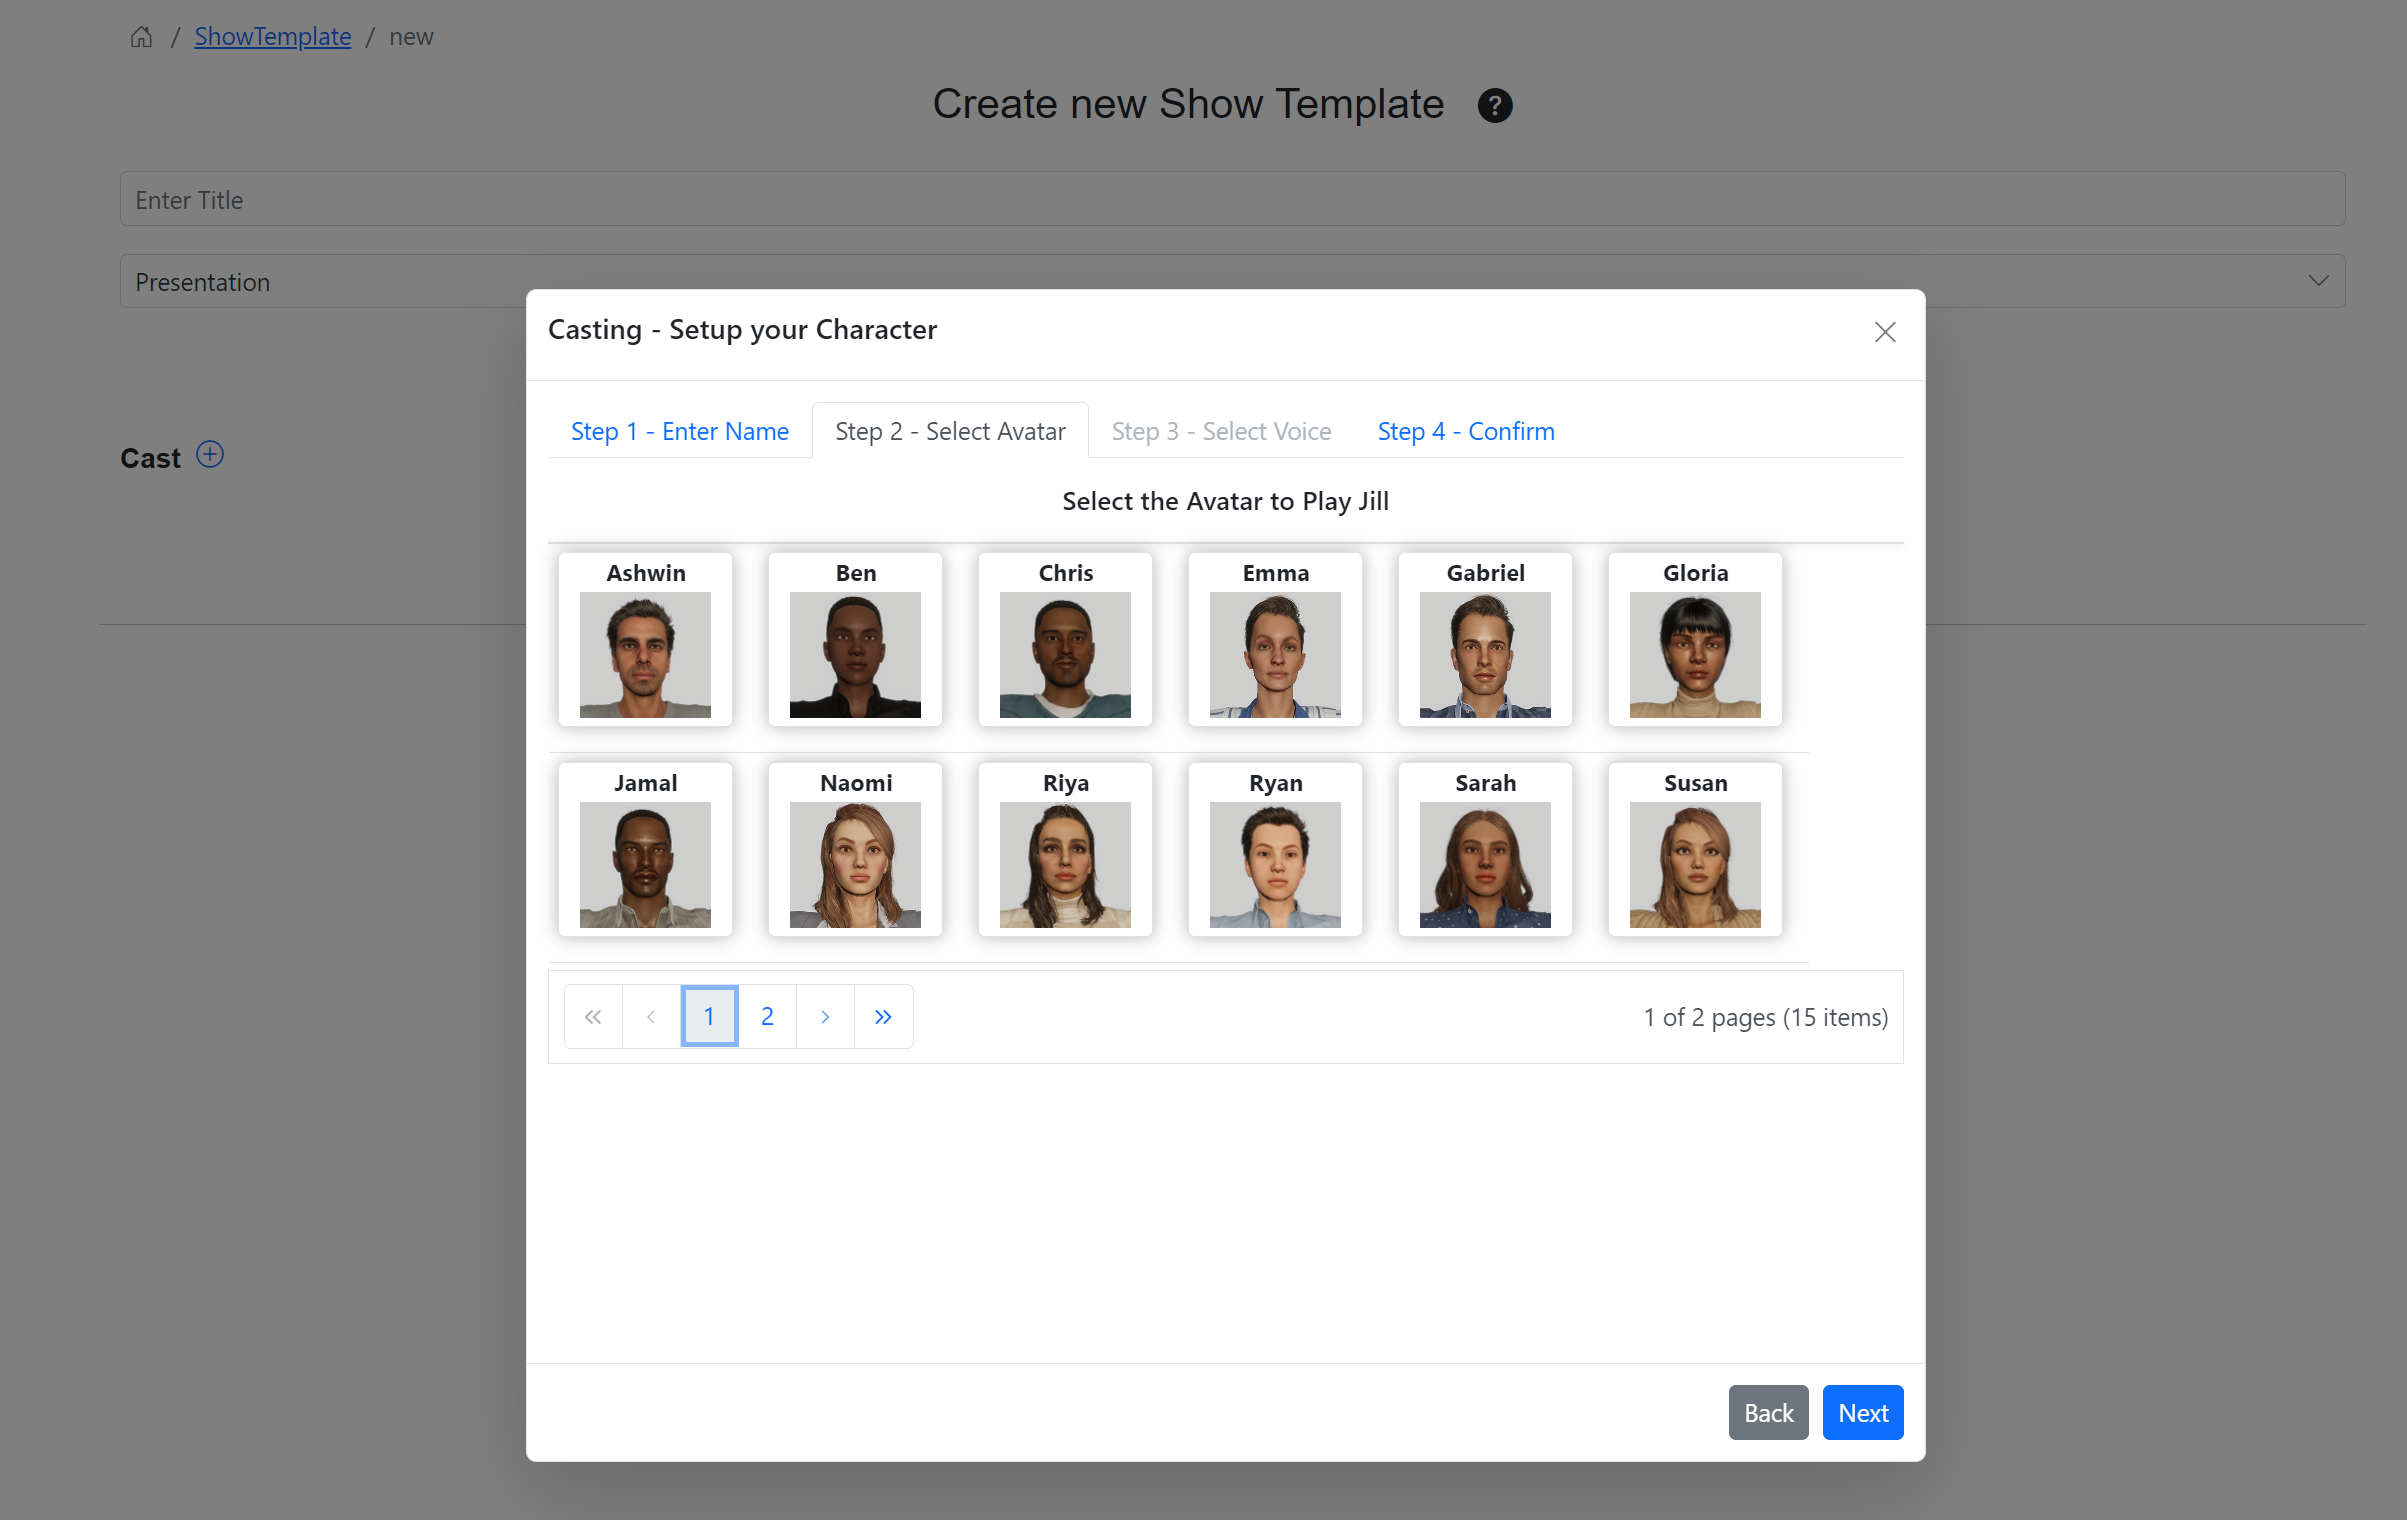
Step 2: Select the Avatar to play your character. We currently have 18 avatars to choose from. We are working on adding more.
Click Next.
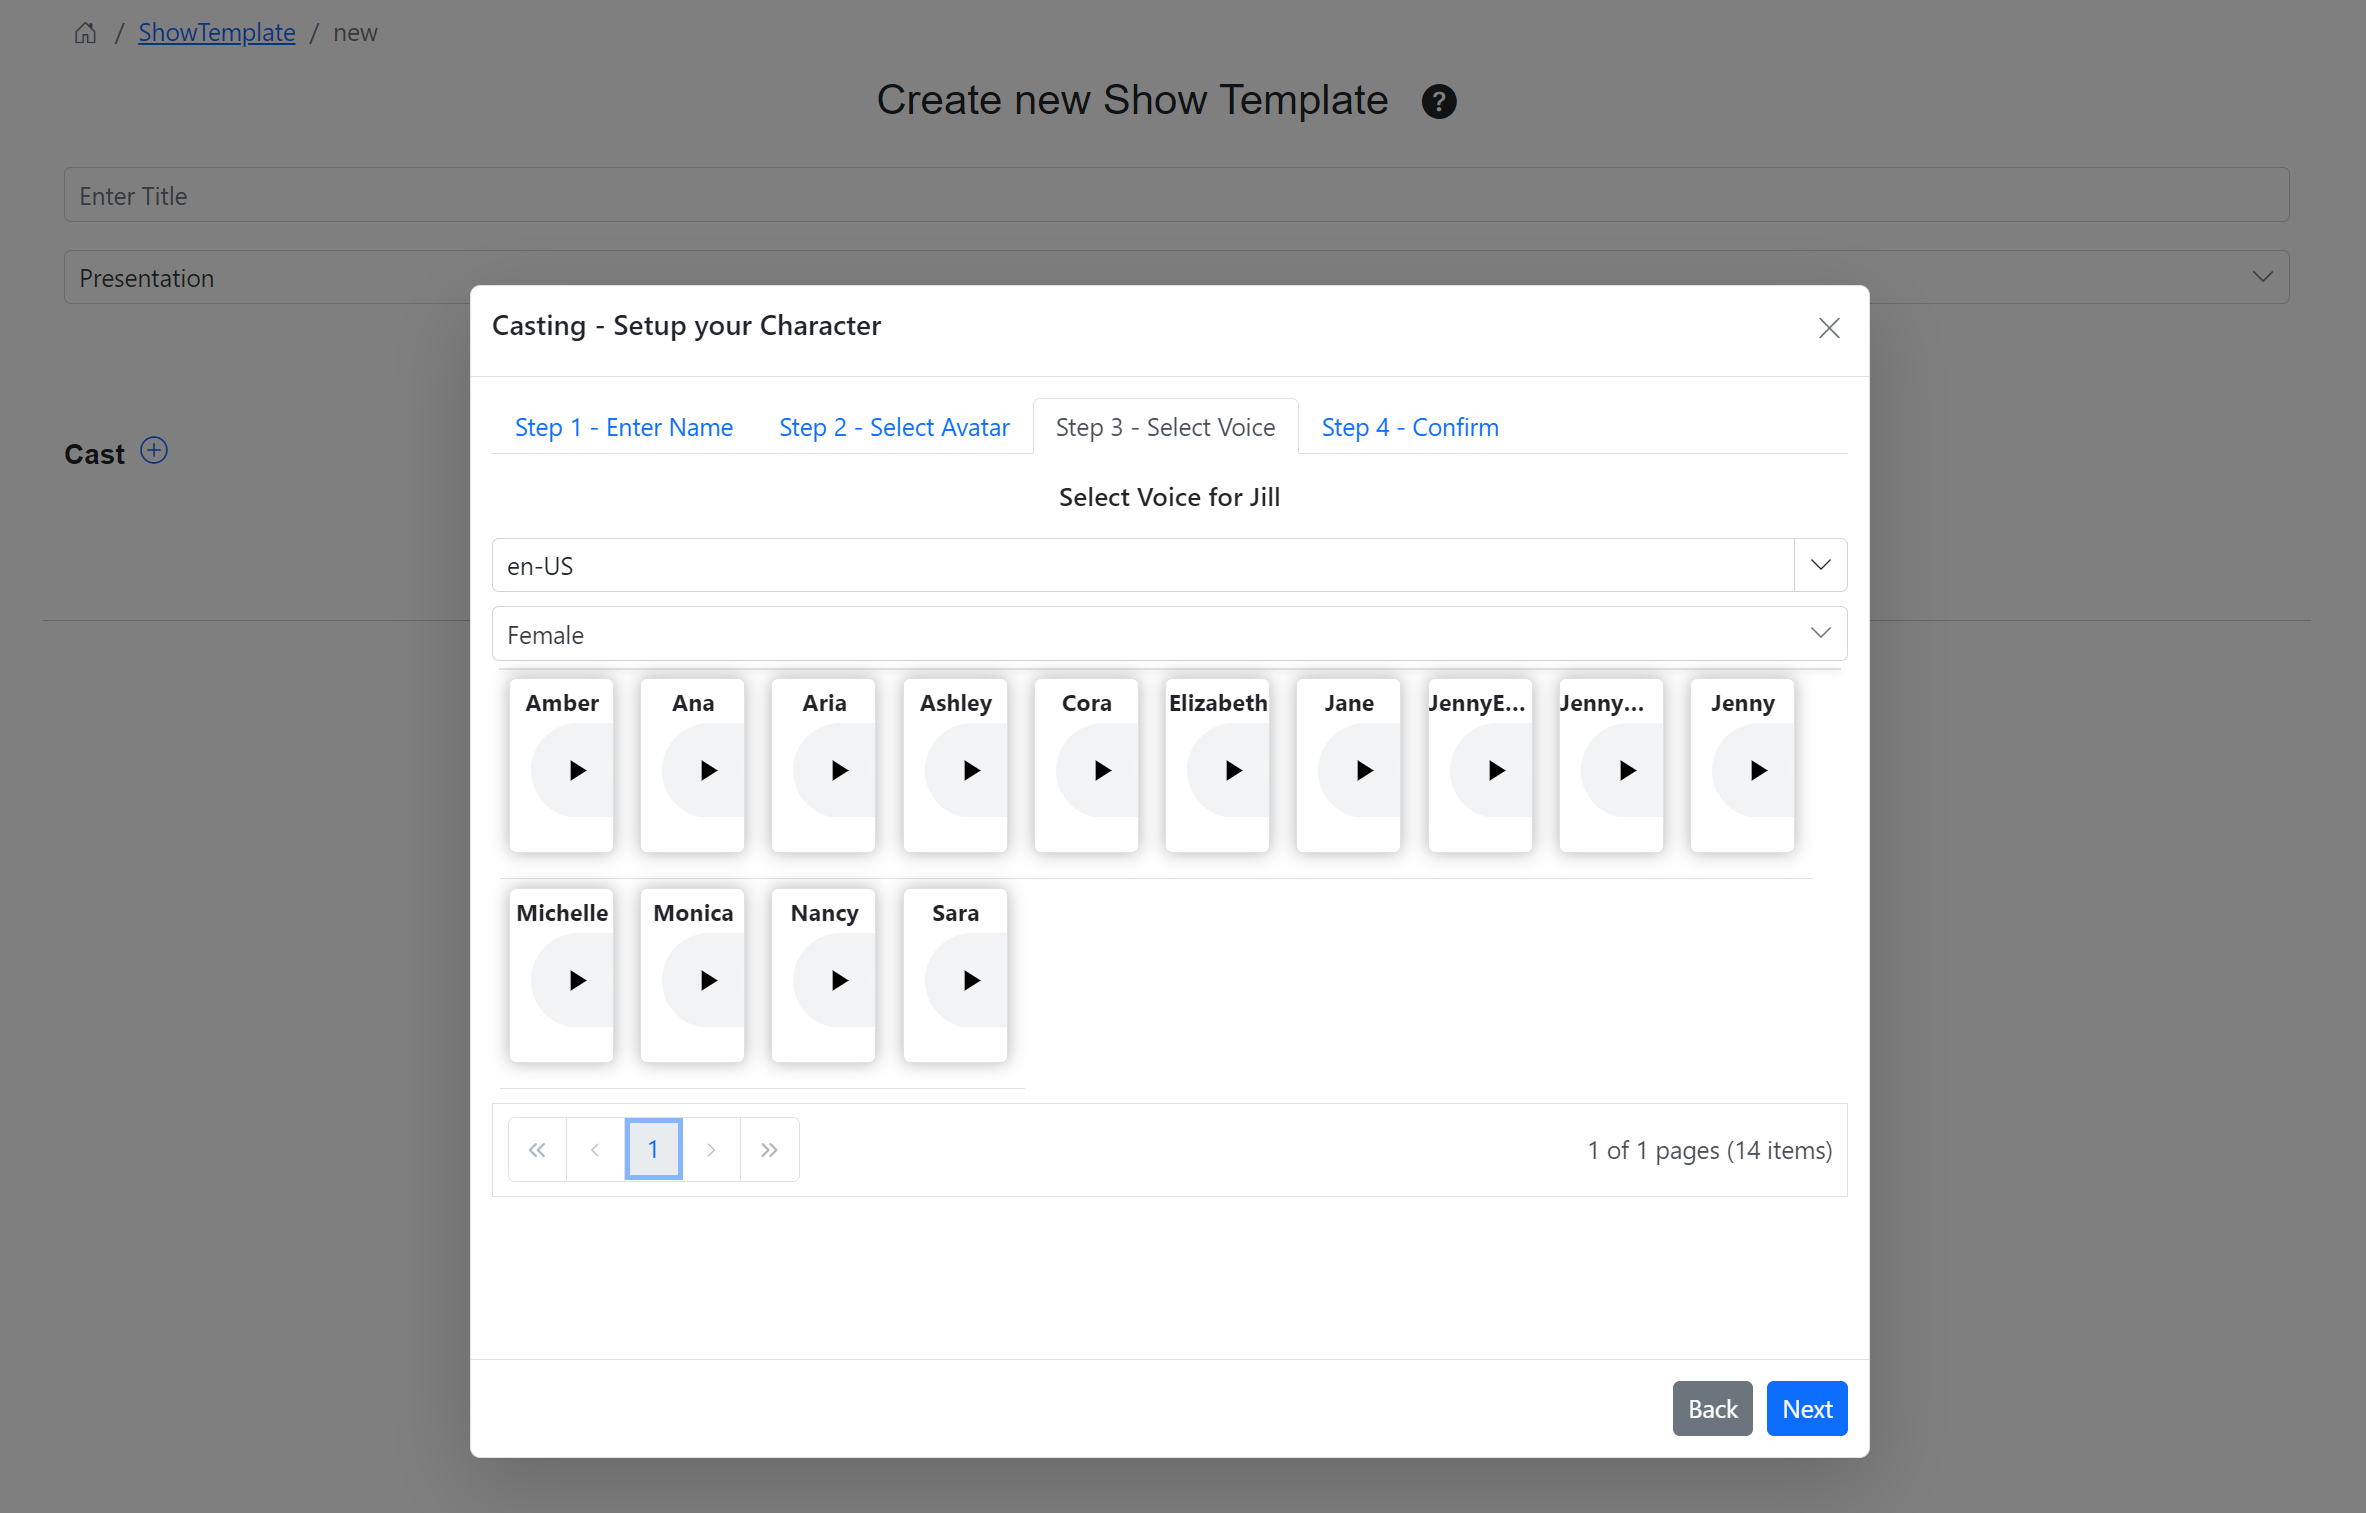
Step 3: Select the voice to play the character. The default locale is set to en-US (US English). We currently support 77 unique languages. Select the language and locale you would like to use.
To test out the voice, click the play button for the voices. The voice will speak out the phrase “I want to explore the world”. Choose the voice which best supports your character.
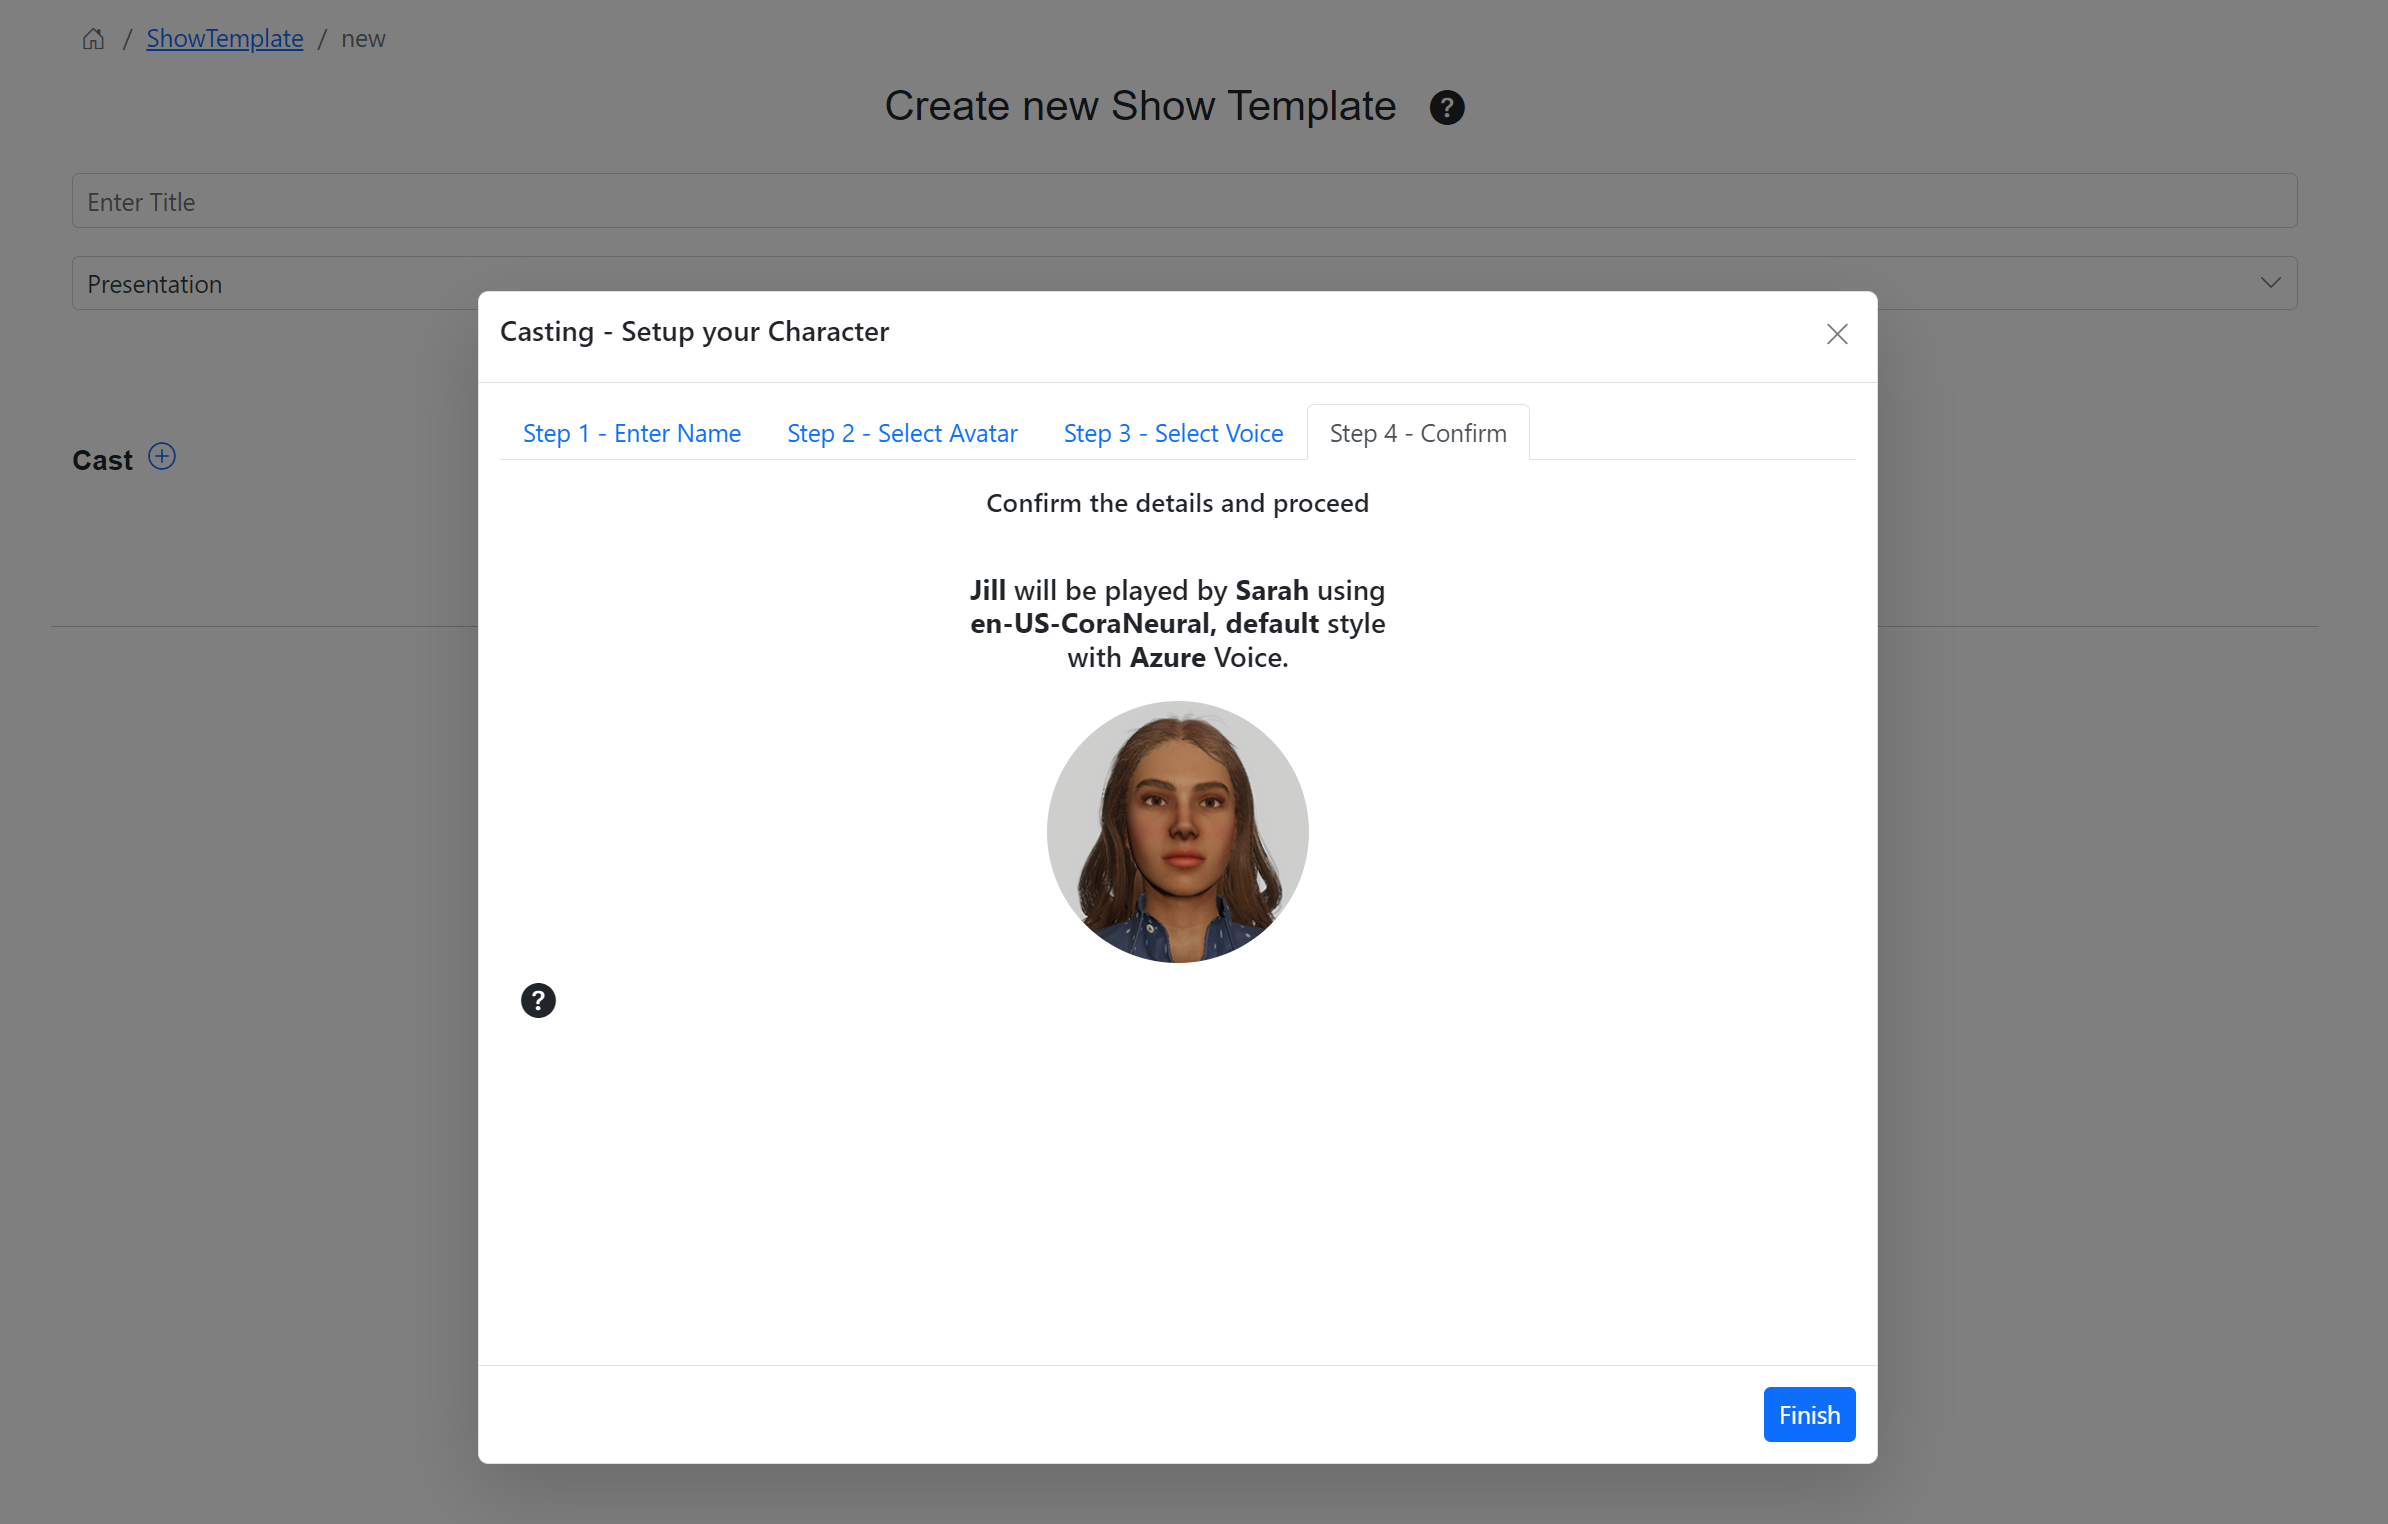
Step 4: Confirm your choices in Step 4. If you wish to change any of the settings, just click on the tabs and make your changes. Click ‘Finish’ to finish setting up your character.

Your new character will appear in your cast section. Keep creating more characters as your show needs. You can always create and edit your characters at a later time as well.
Design Settings
Your show template has been prefilled with a default set of values. At this point, once you have entered a title for the show template and setup your cast, you can proceed to creating videos.
You can also personalize these settings. Click on the Pencil icon next to ‘Design Settings’ to edit the default settings. This will bring up a wizard which will guide you through the process.
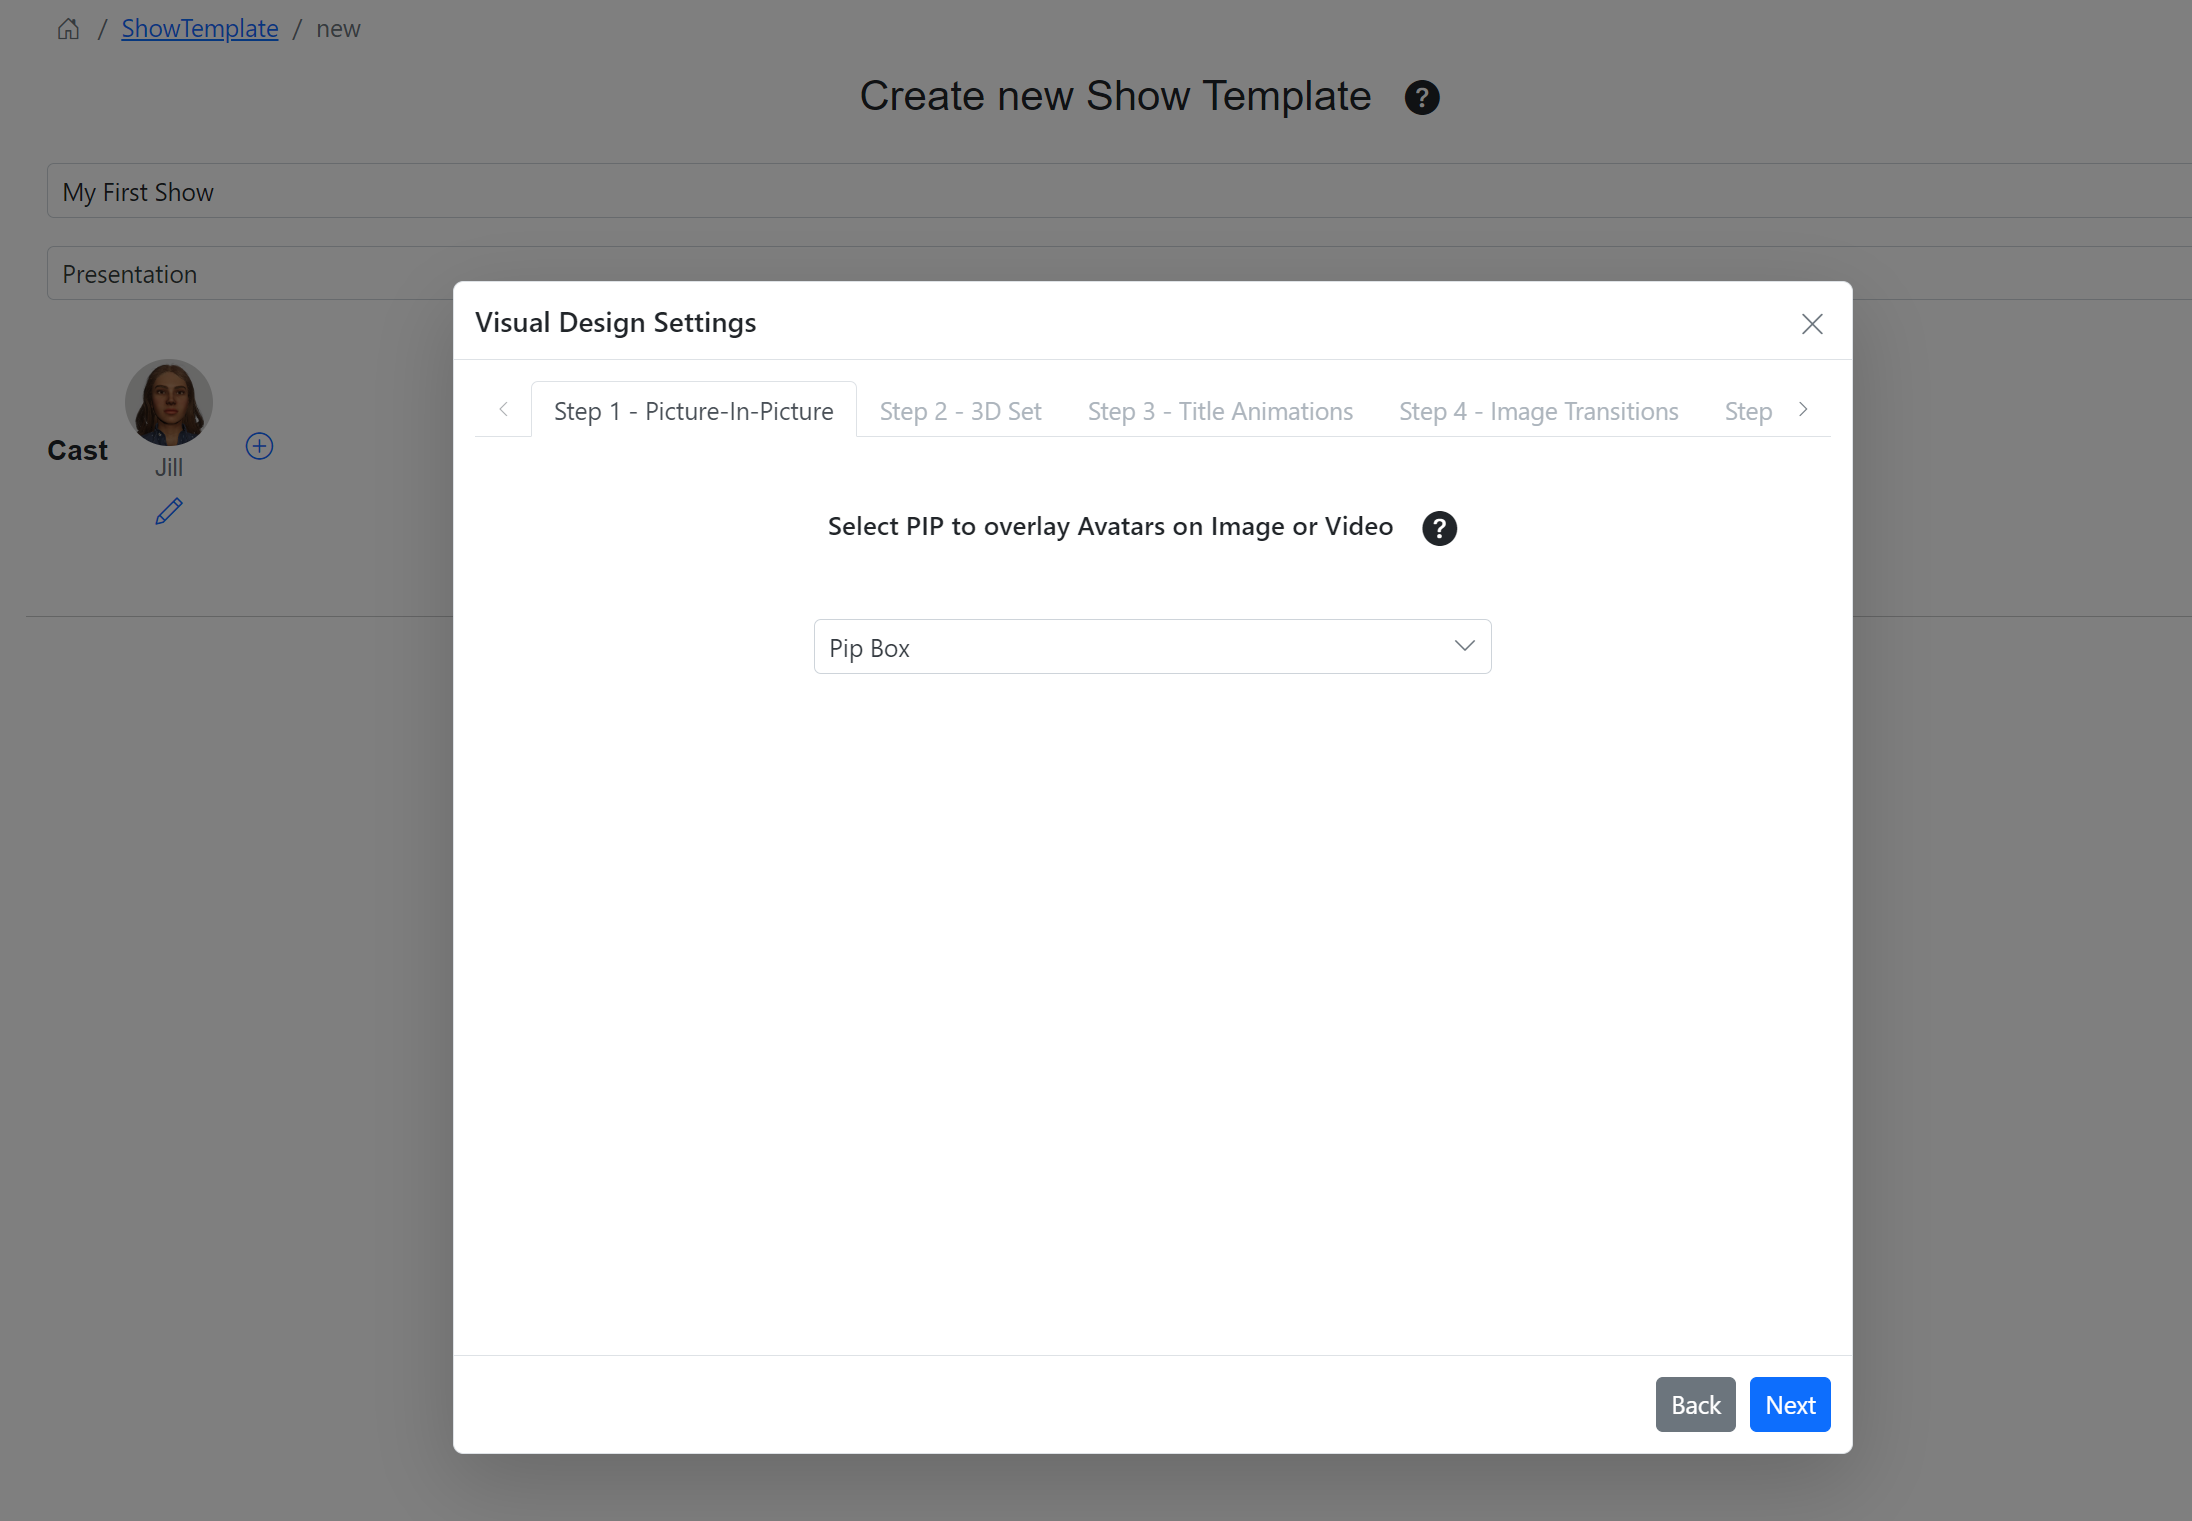
Step 1: PIP mode shows your Avatars talking in a small PIP box in the right corner of the screen when it is showing a Video or Image.
The options available are:
- PIP Box: This is the default setting.
- None: PIP will not be activated
Click Next to proceed.
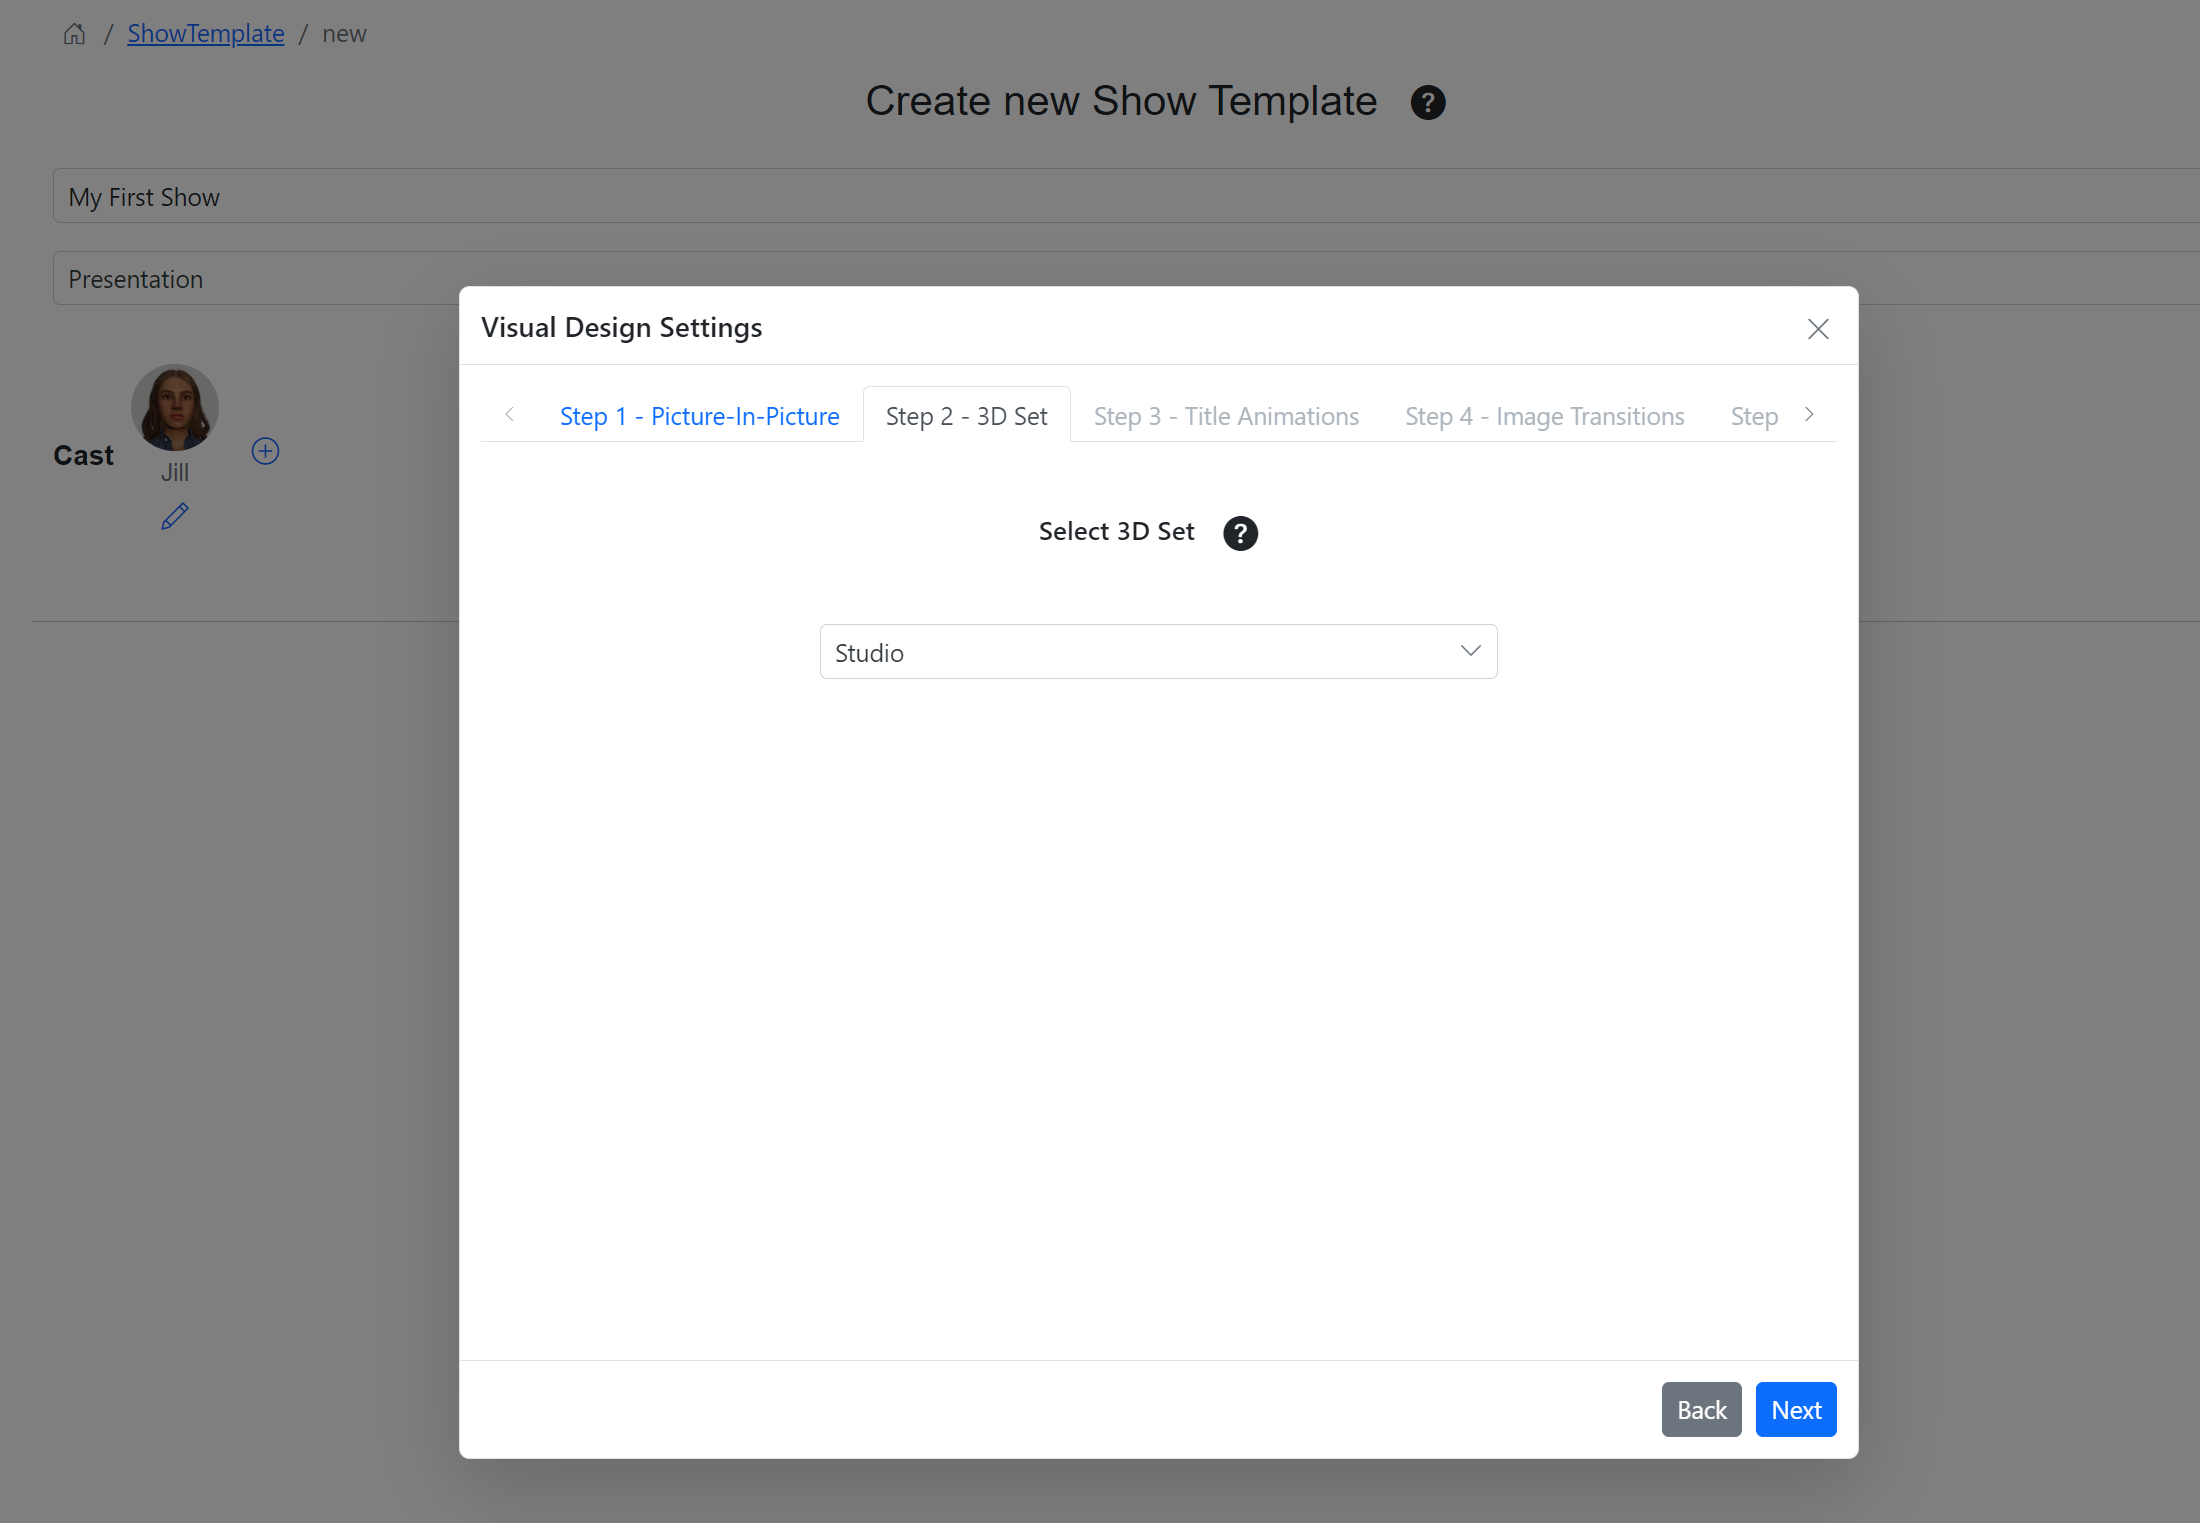
Step 2: Select your 3D Set on this screen. Currently you have the option to choose the News Studio set or a 2D background. We are working on adding more 3D sets.
Click Next to proceed.
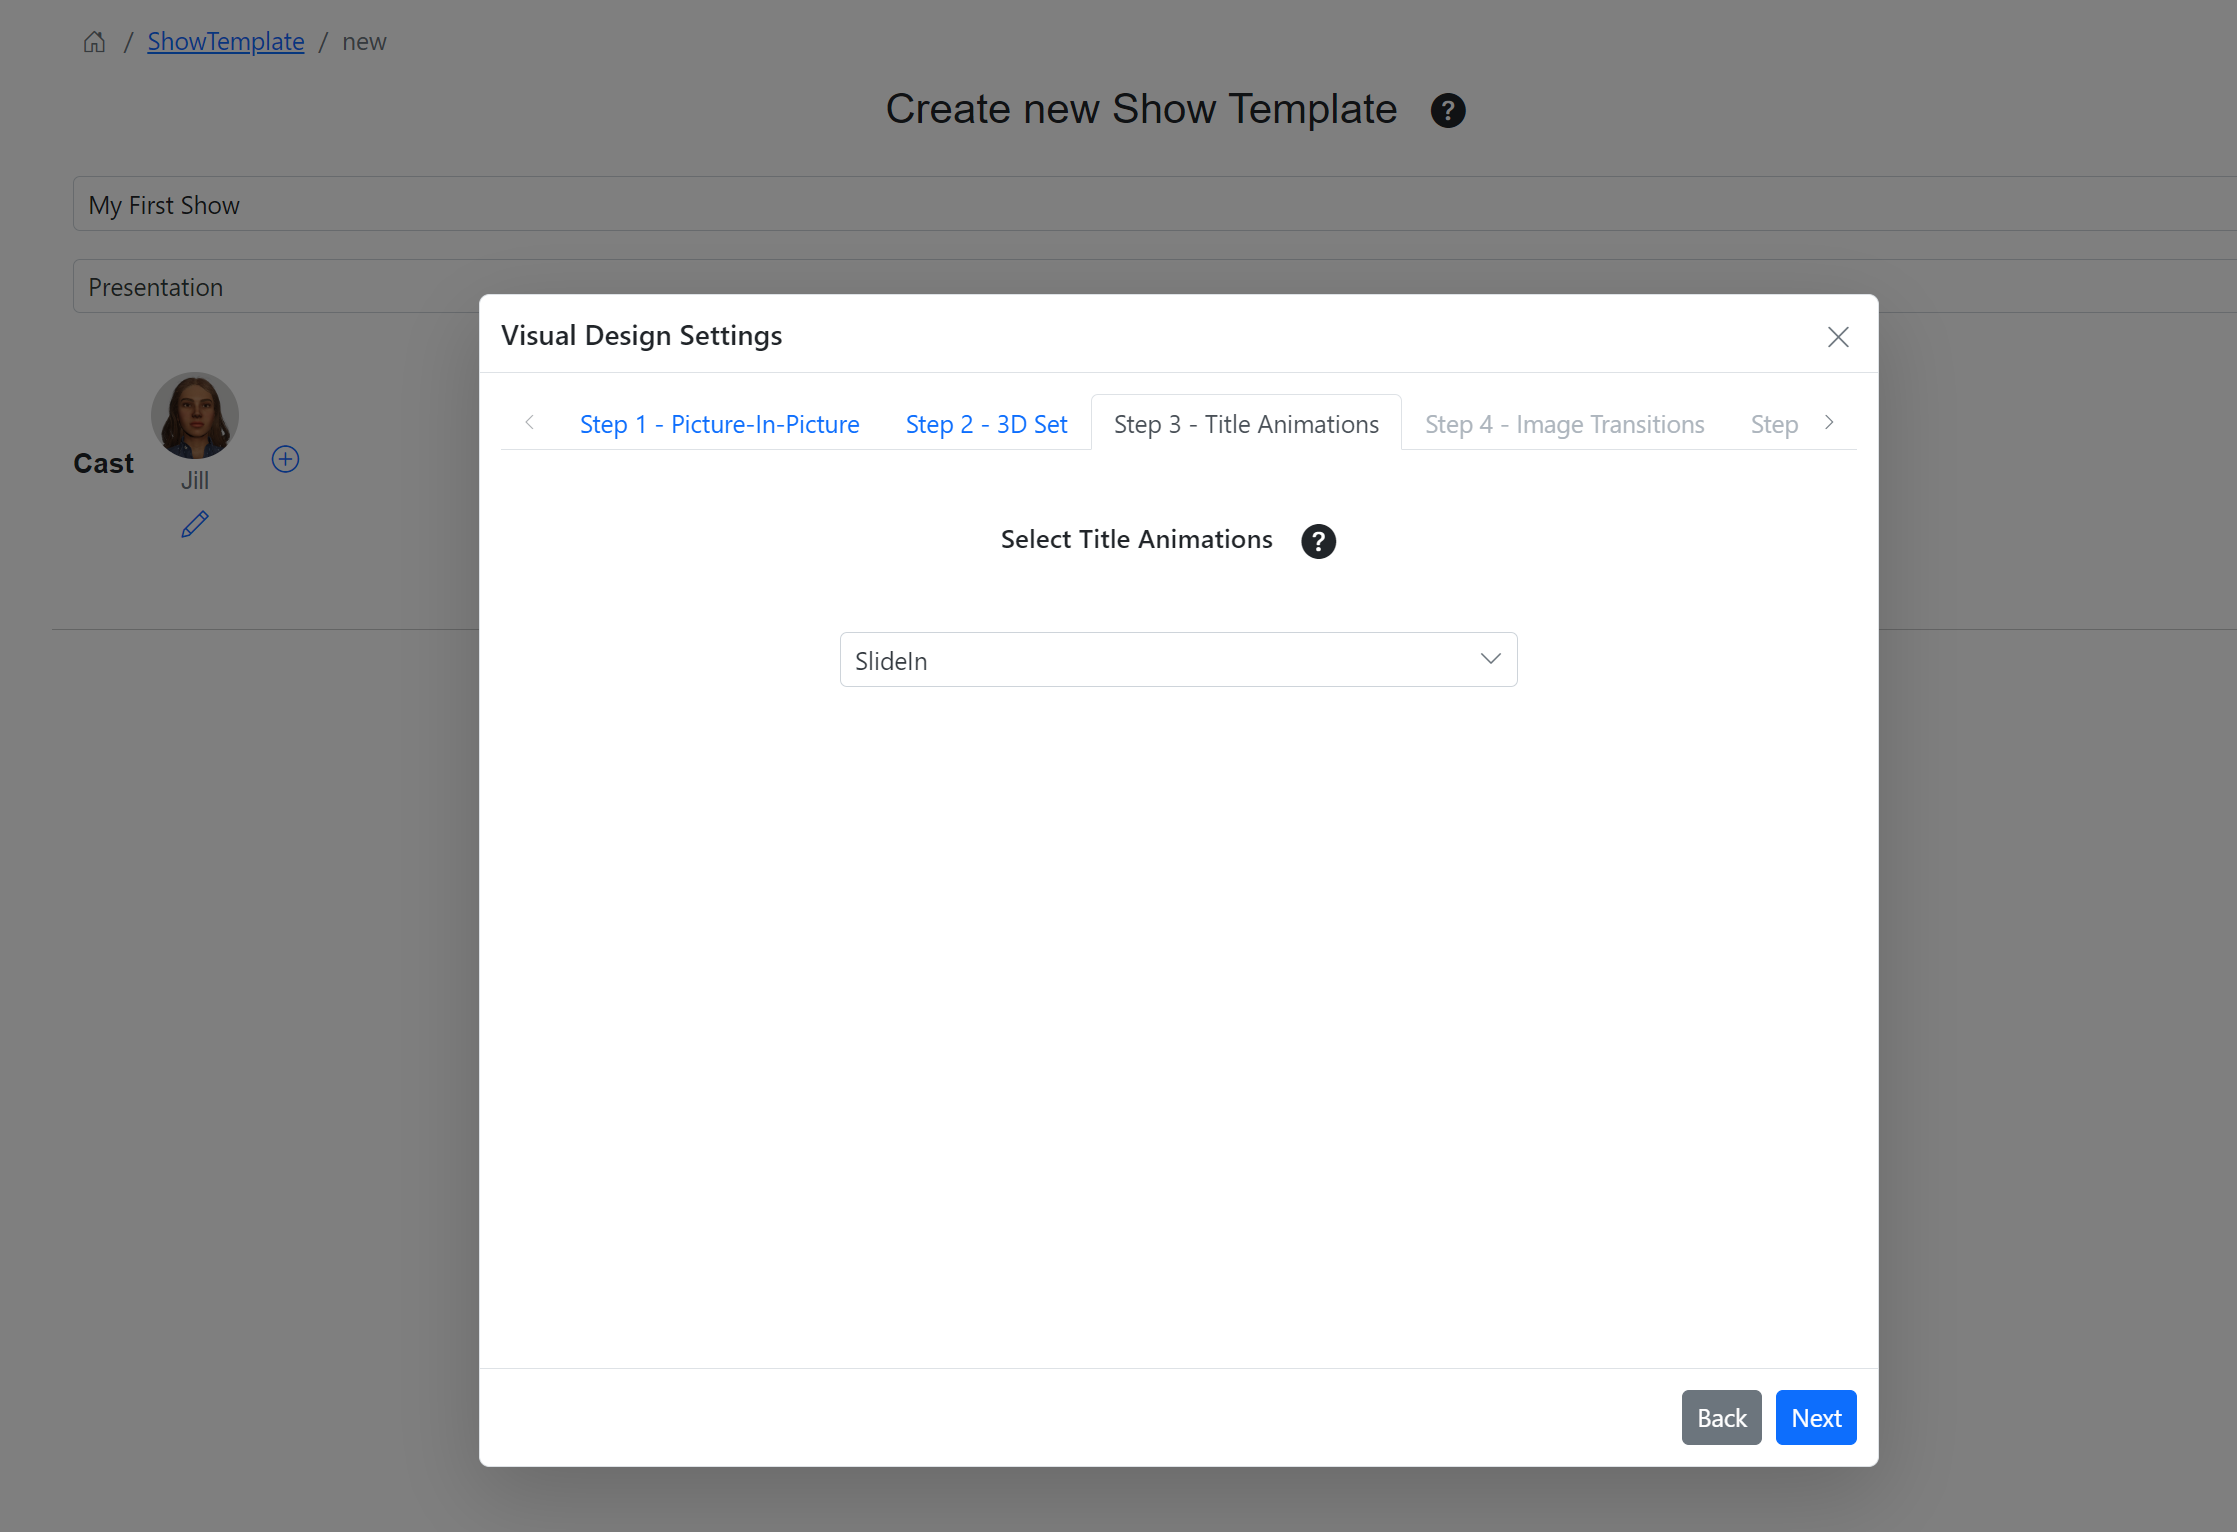
Step 3: Title Animations settings decide how the various scene titles will appear on the screen. You can add these titles in your script using the Title keyword followed by the : symbol.
The options available are:
- SlideIn: This is the default setting.
- Box1
- SlideInOut
- SlideInRight
- WideBall
- SplitText
- Box2
Click Next to proceed.
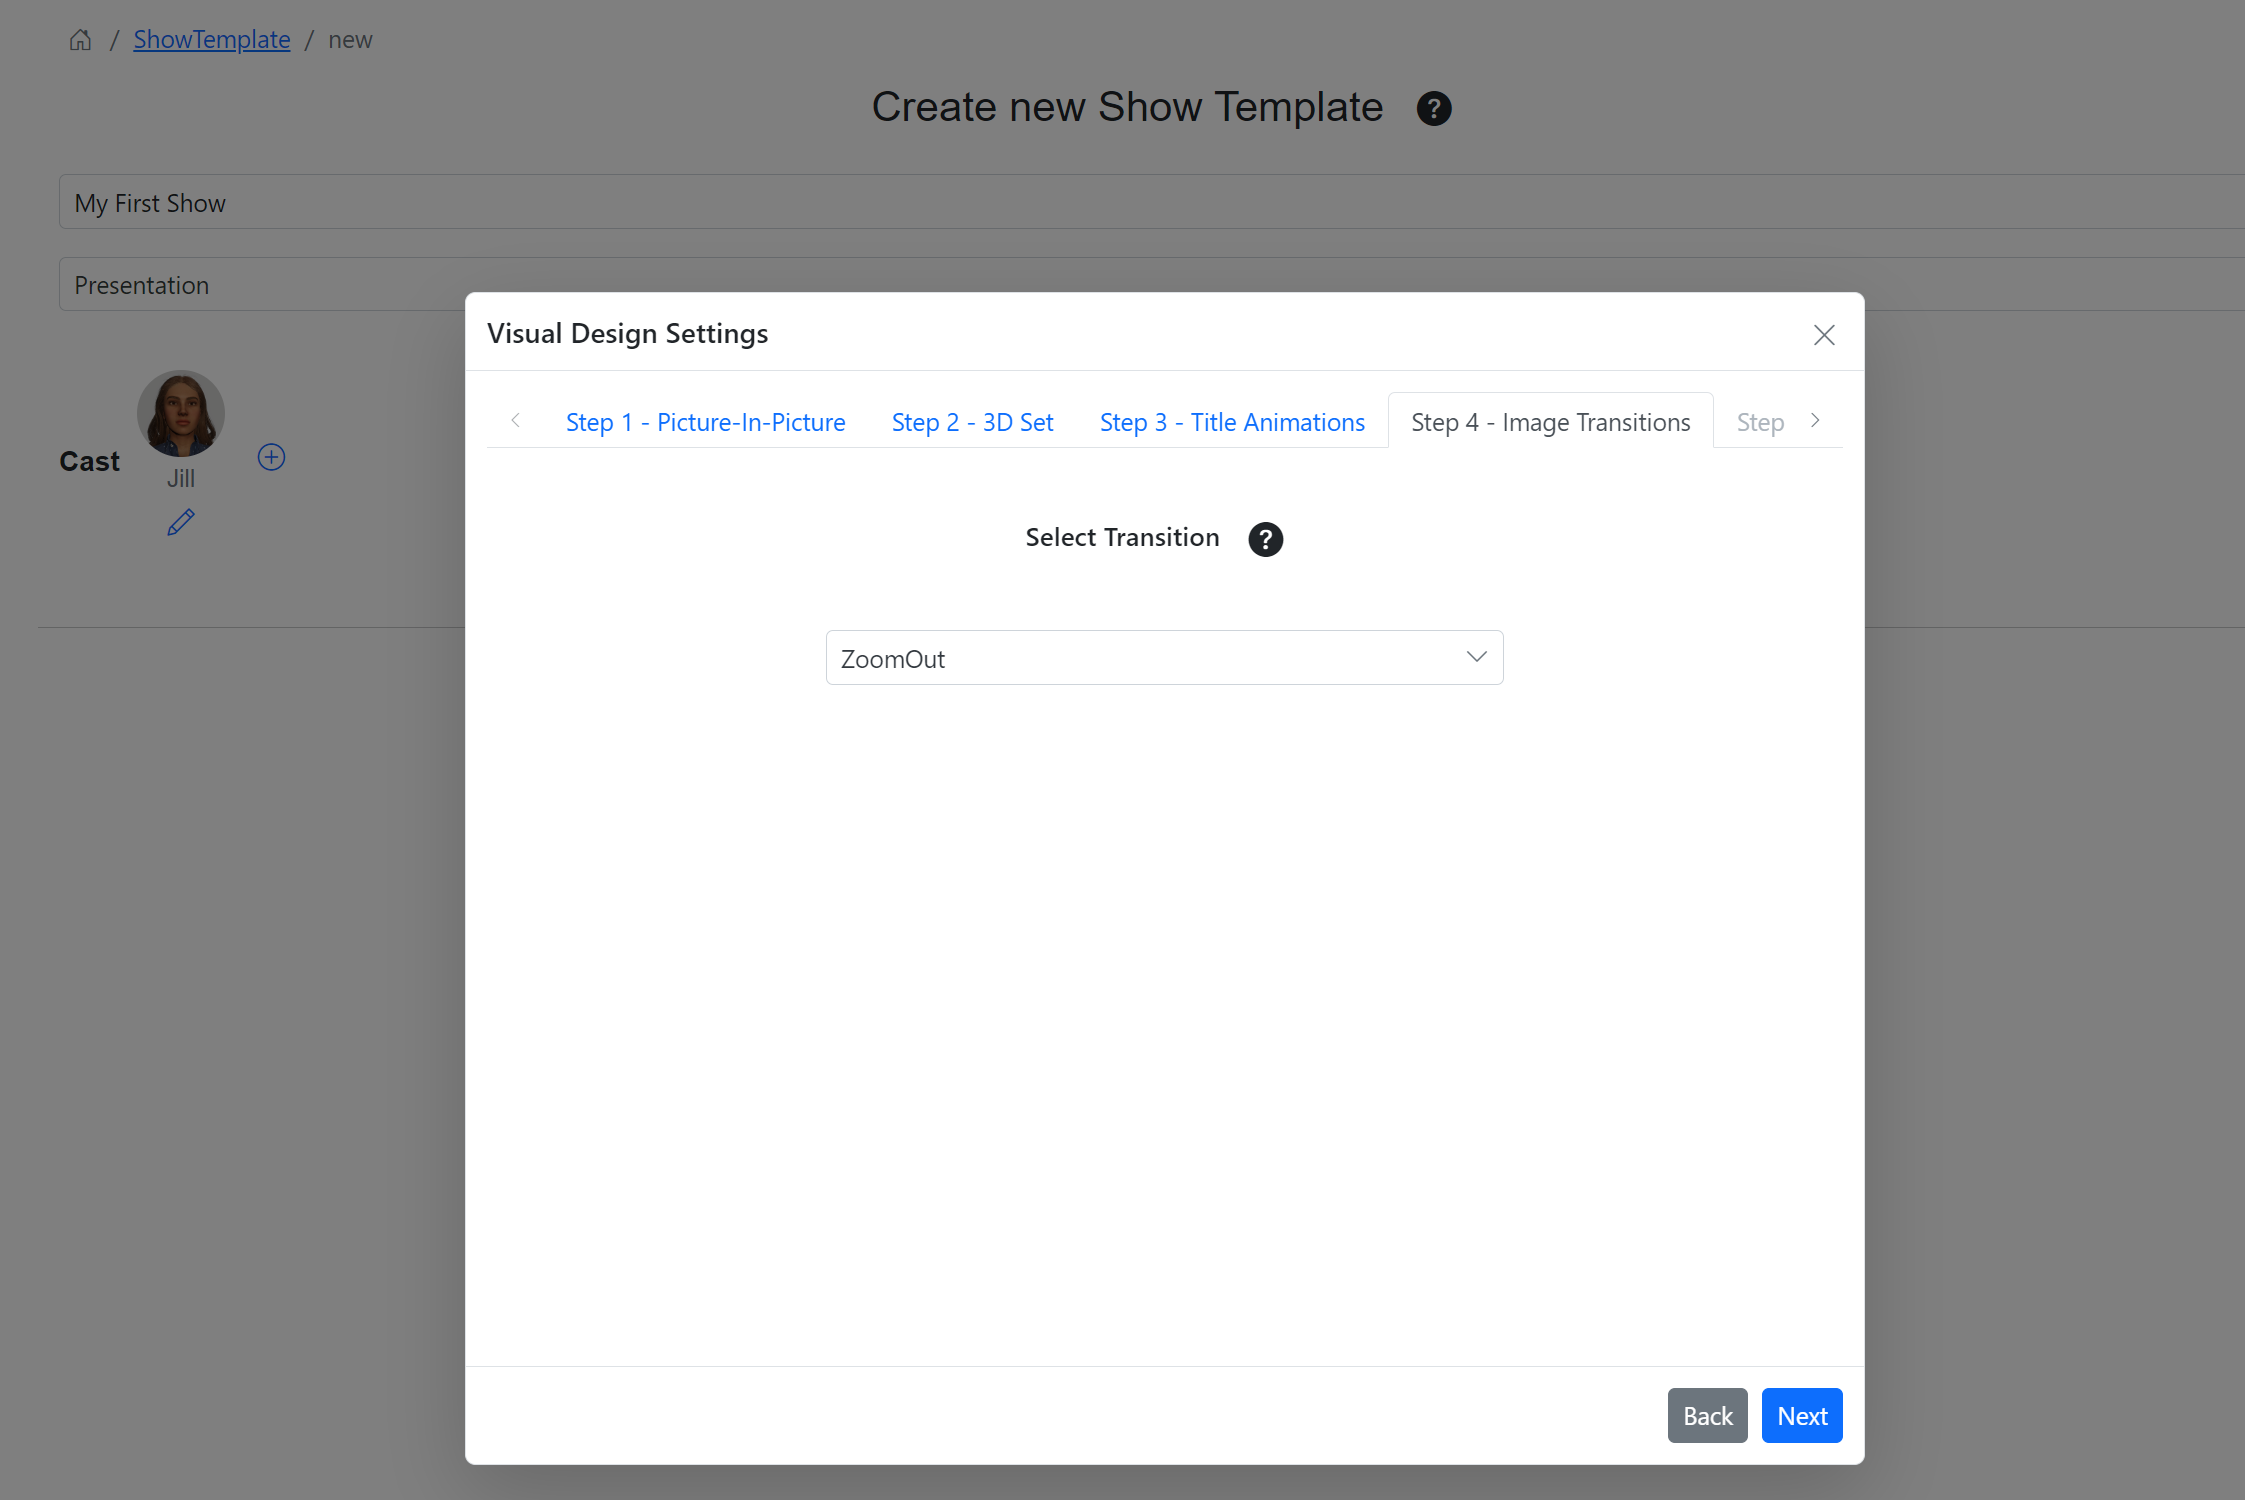
Step 4: This setting determines how the images will transition in the scene. The only option available right now is ZoomOut.
To add images to the scene, use the reserved Image keyword in the script followed by the : symbol and the image file name. Make sure that the image file has been uploaded to the Media library before sending the video for processing.
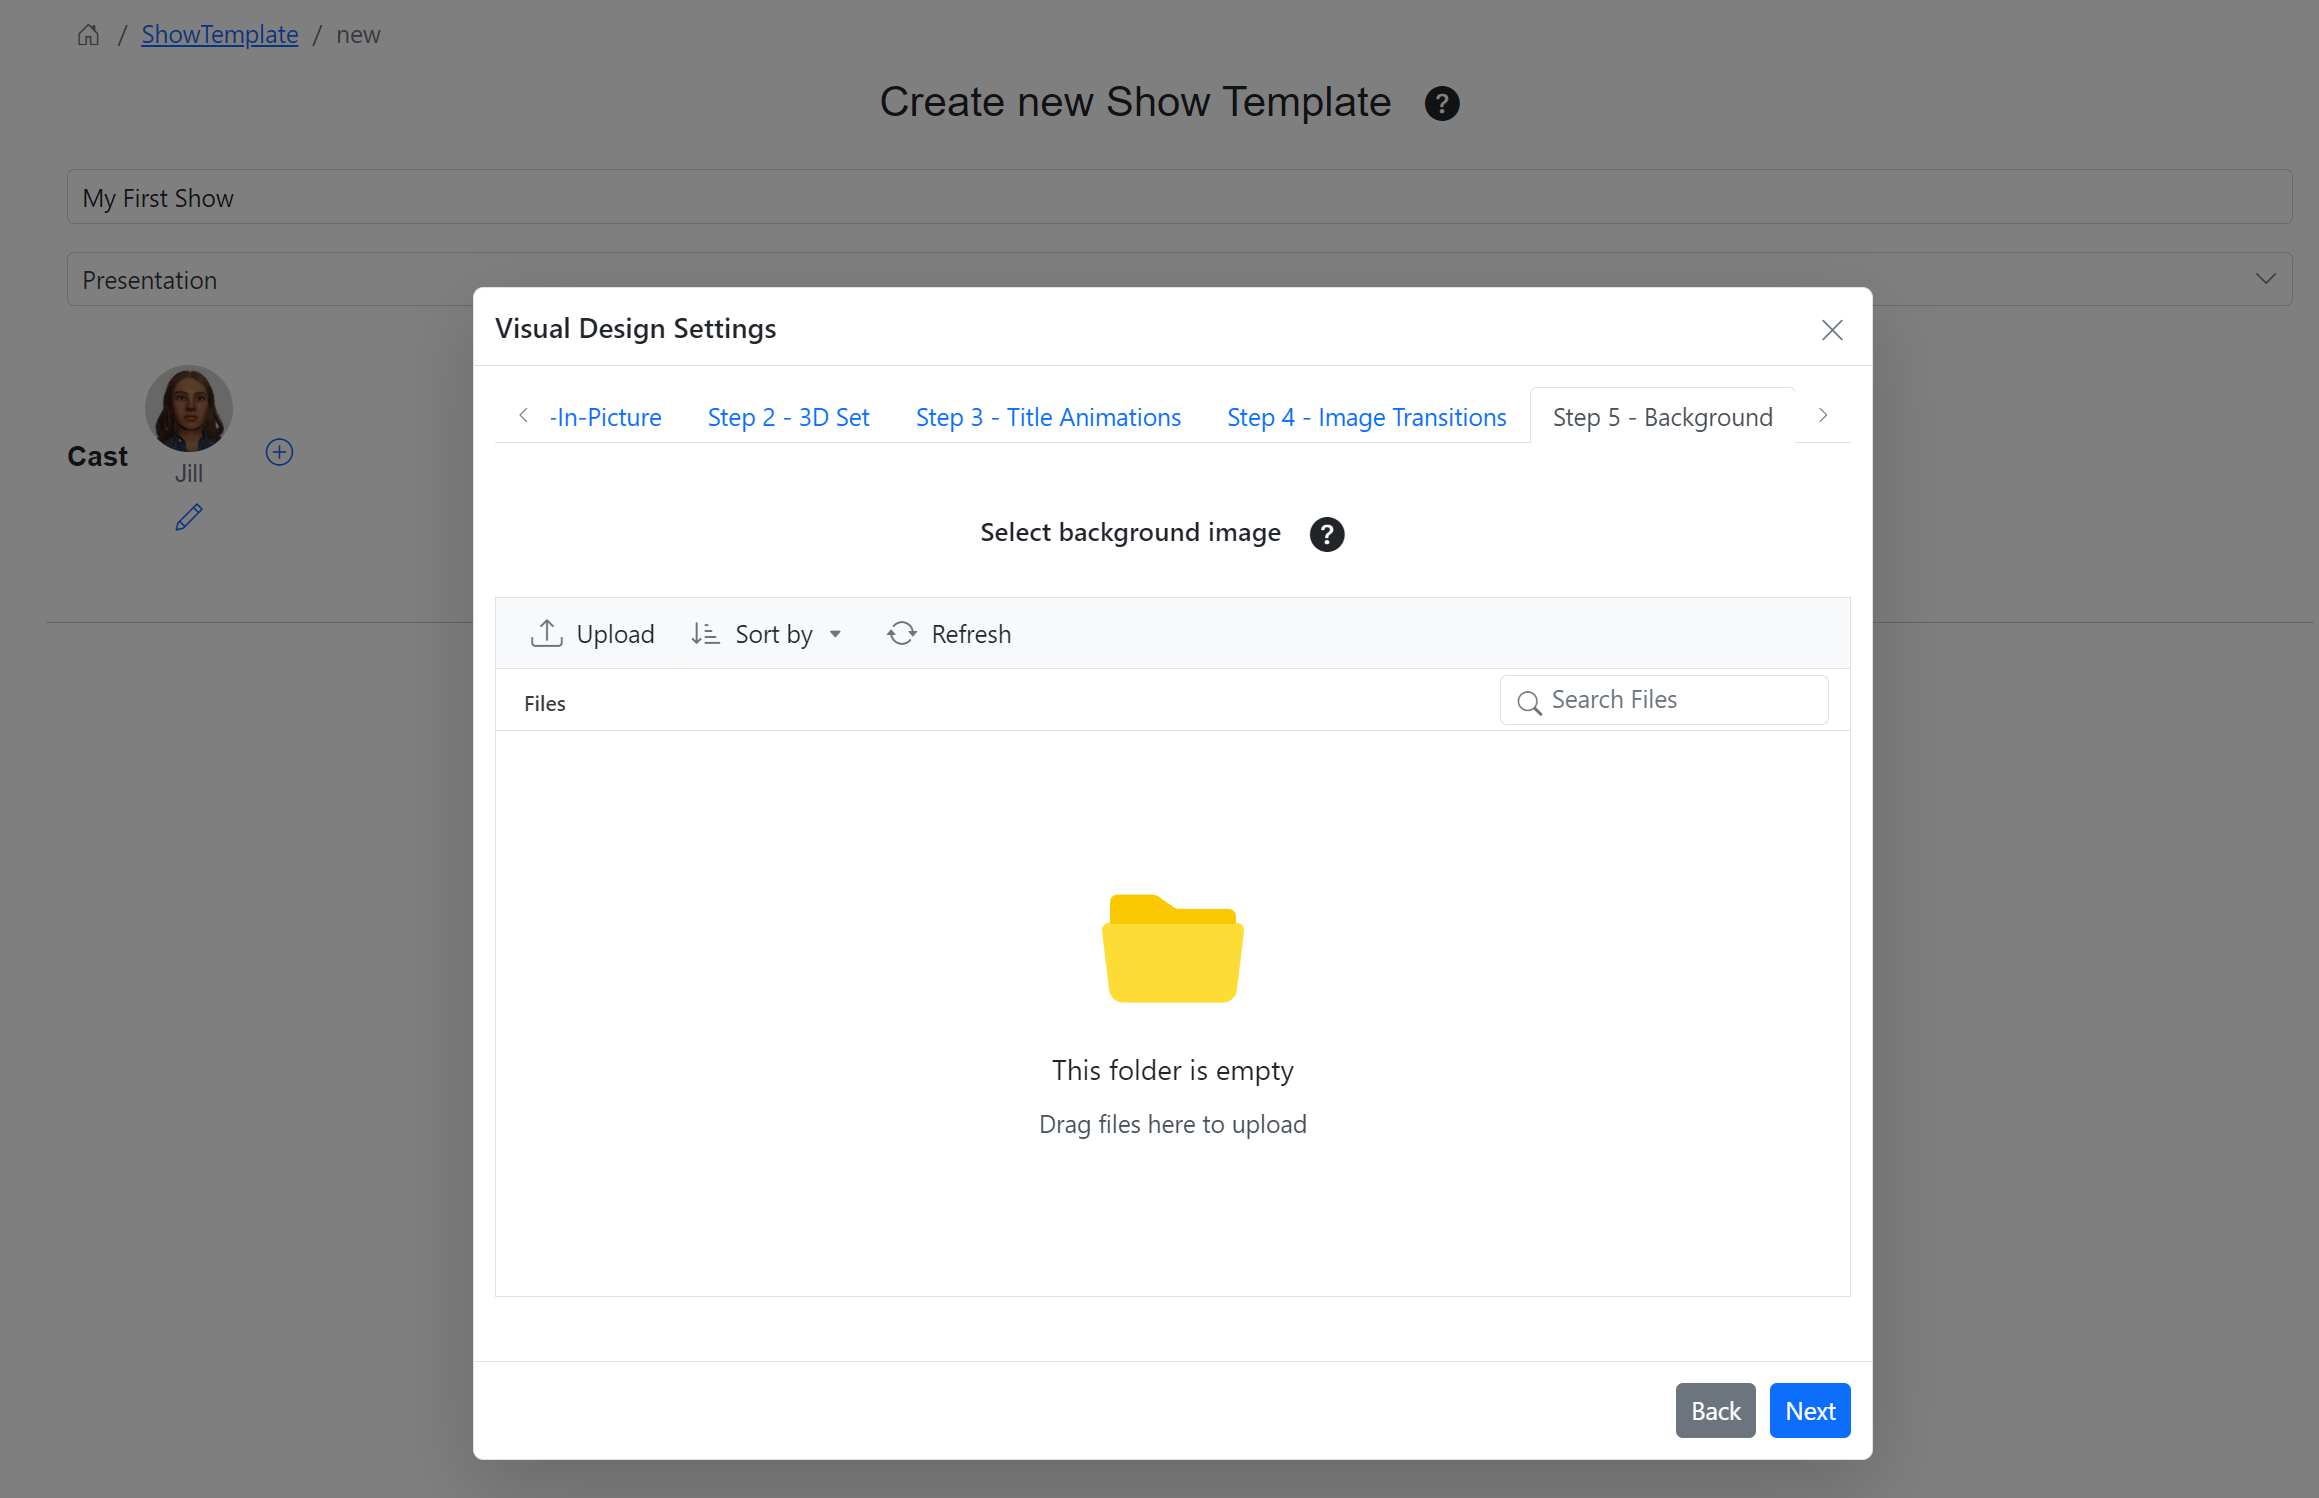
Step 5: This step is optional.
You can upload a background image for your video. This appears on the big screen which is behing the actors in the studio setting.
To upload an image, click the Upload button and select a file from your local file system. Select the file you uploaded to set as your background file.
Uploading and selecting a background file is optional. If you do not select one, we select a background for your video.
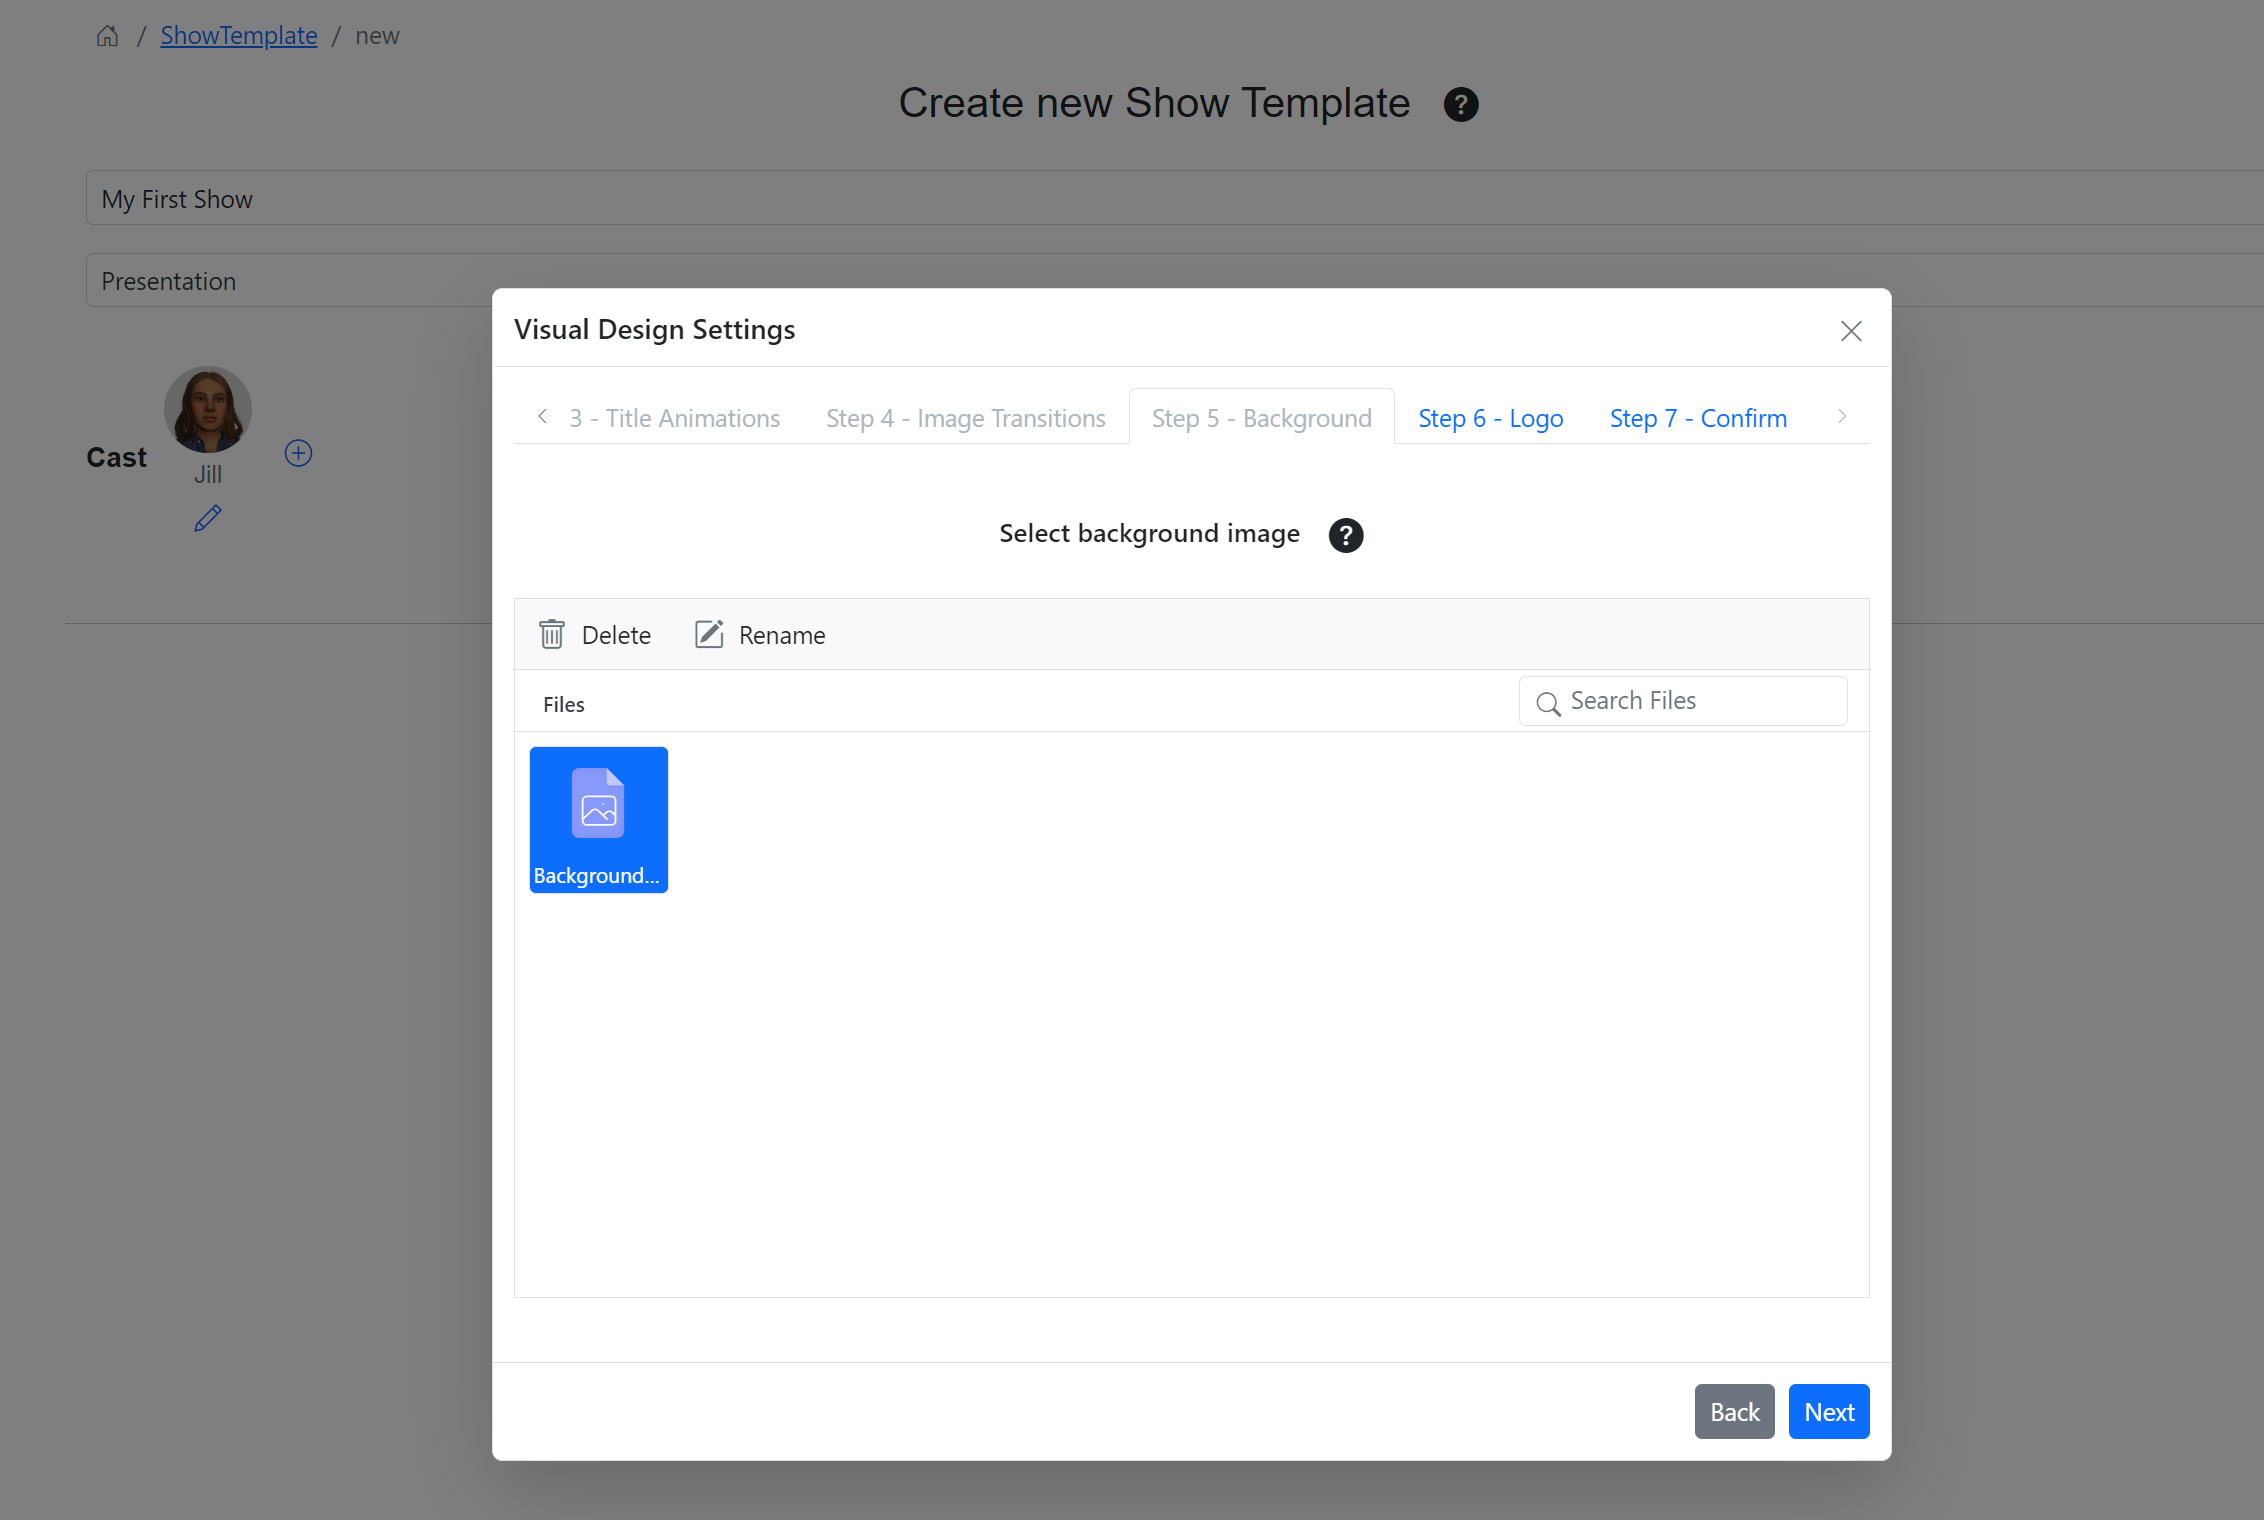
Click Next to proceed.
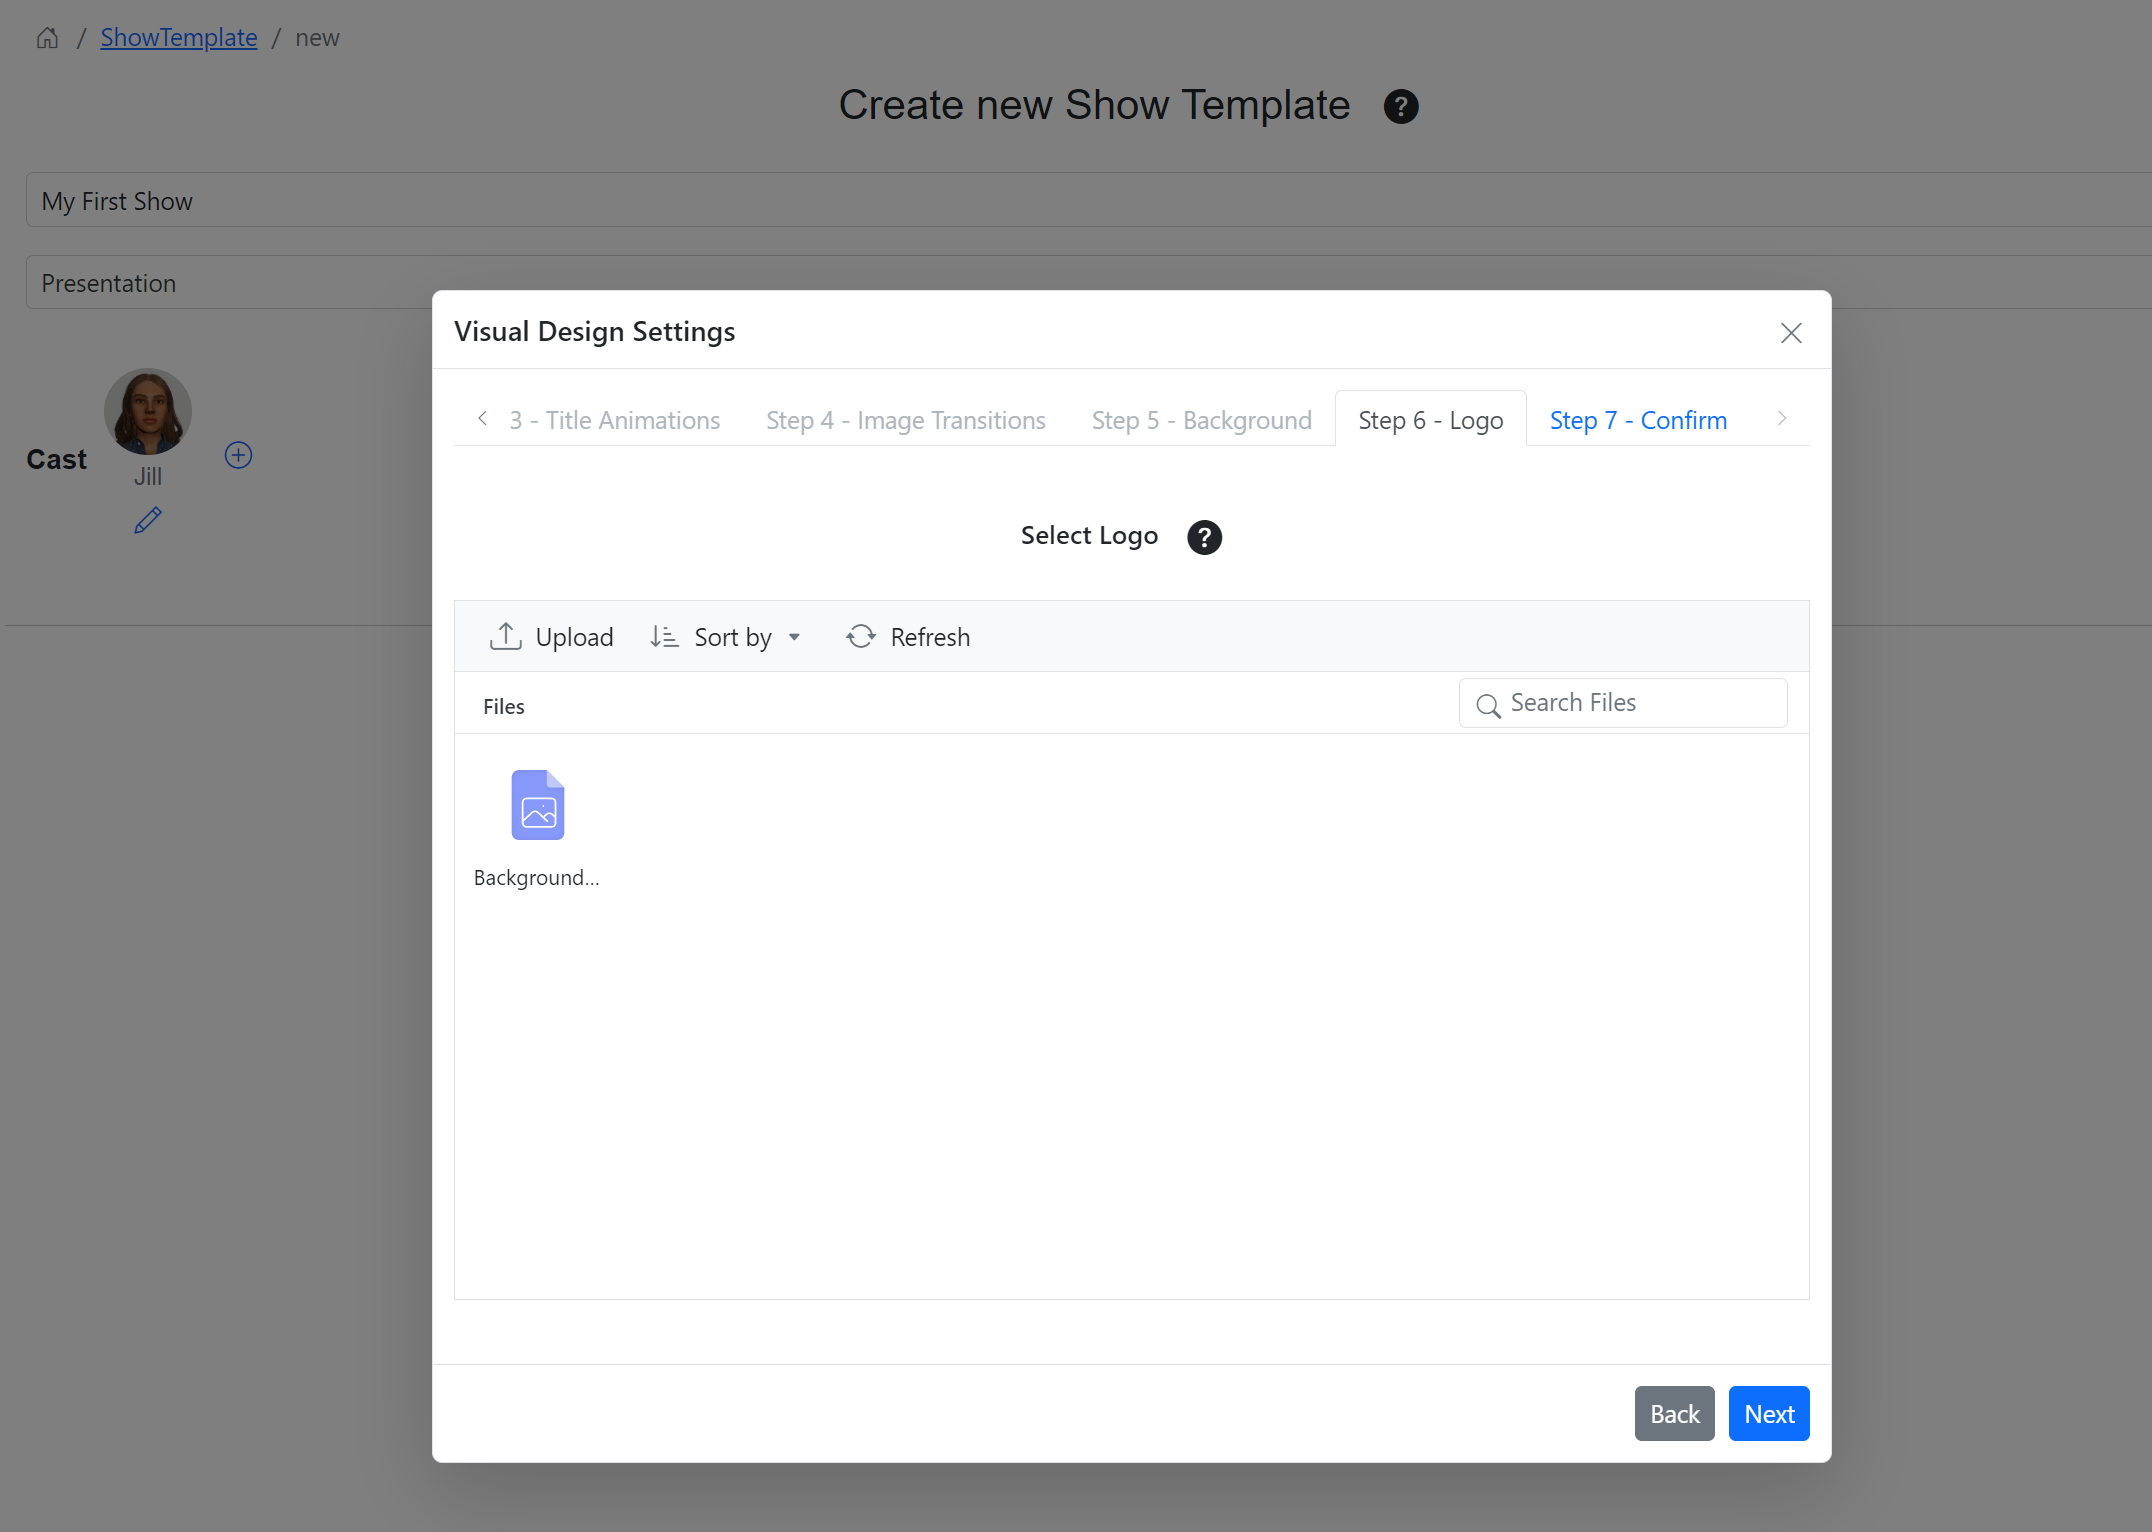
Step 6: This step is optional.
You can upload and select an image as a logo. If you provide a logo, it will appear on the top right of the screen in the video.
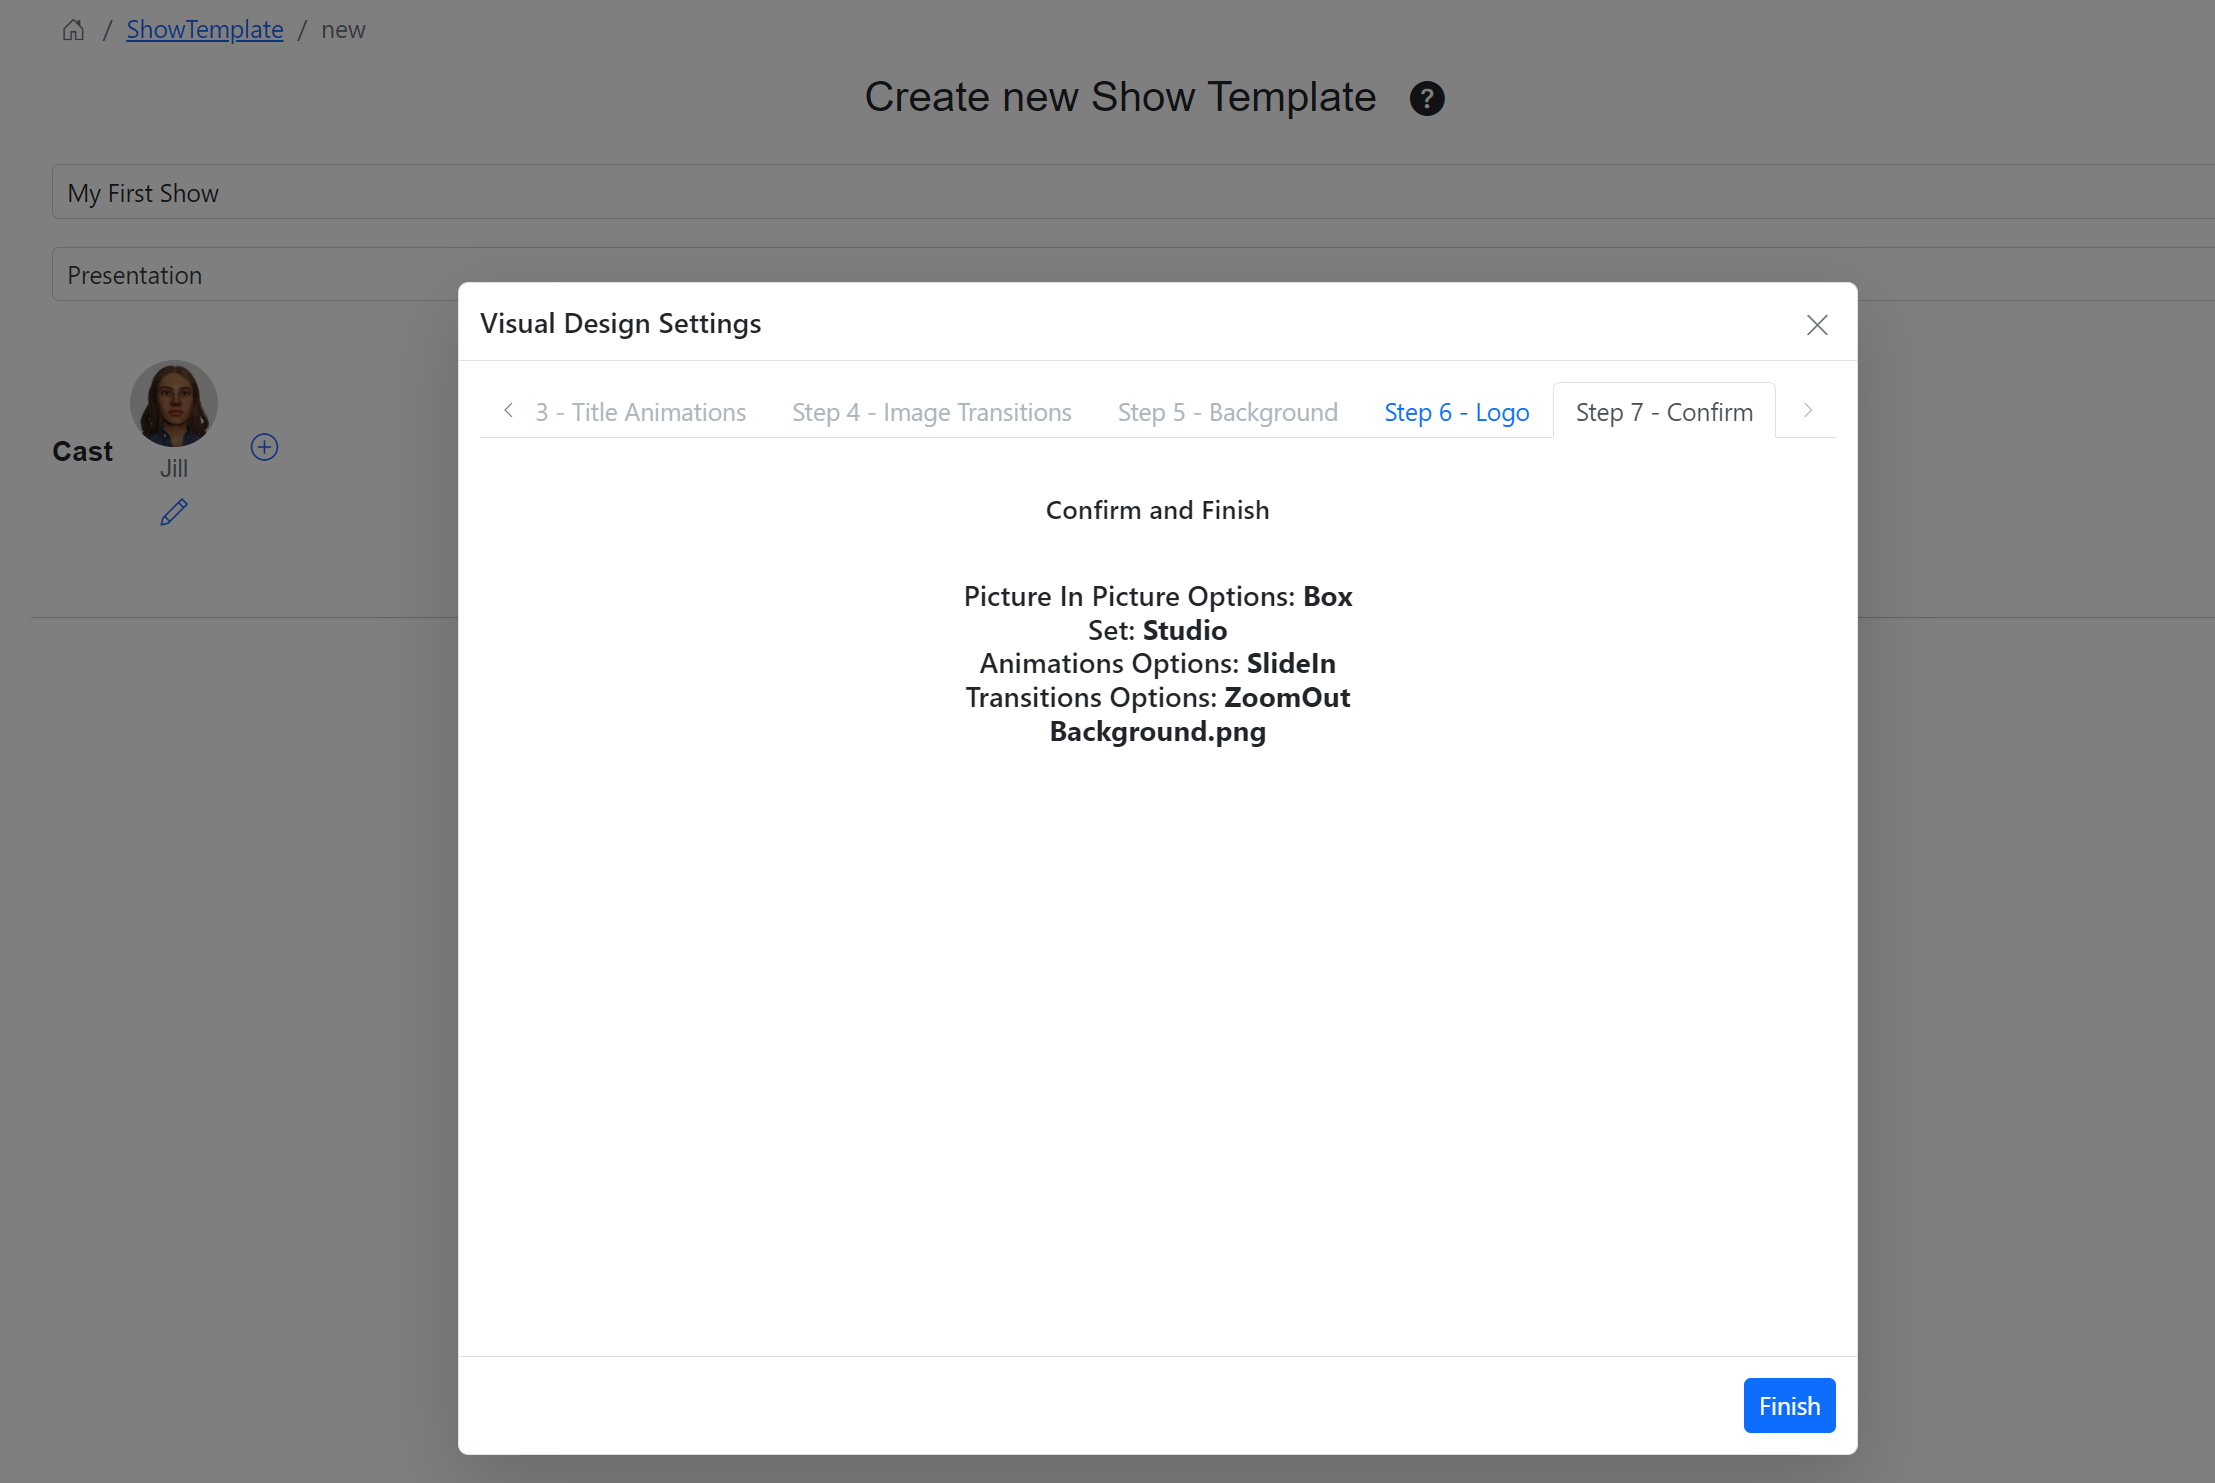
Step 7: This is the confirmation screen. If you wish to change any of the settings, just click on the tabs and make your changes. Click ‘Finish’ to save your changes.
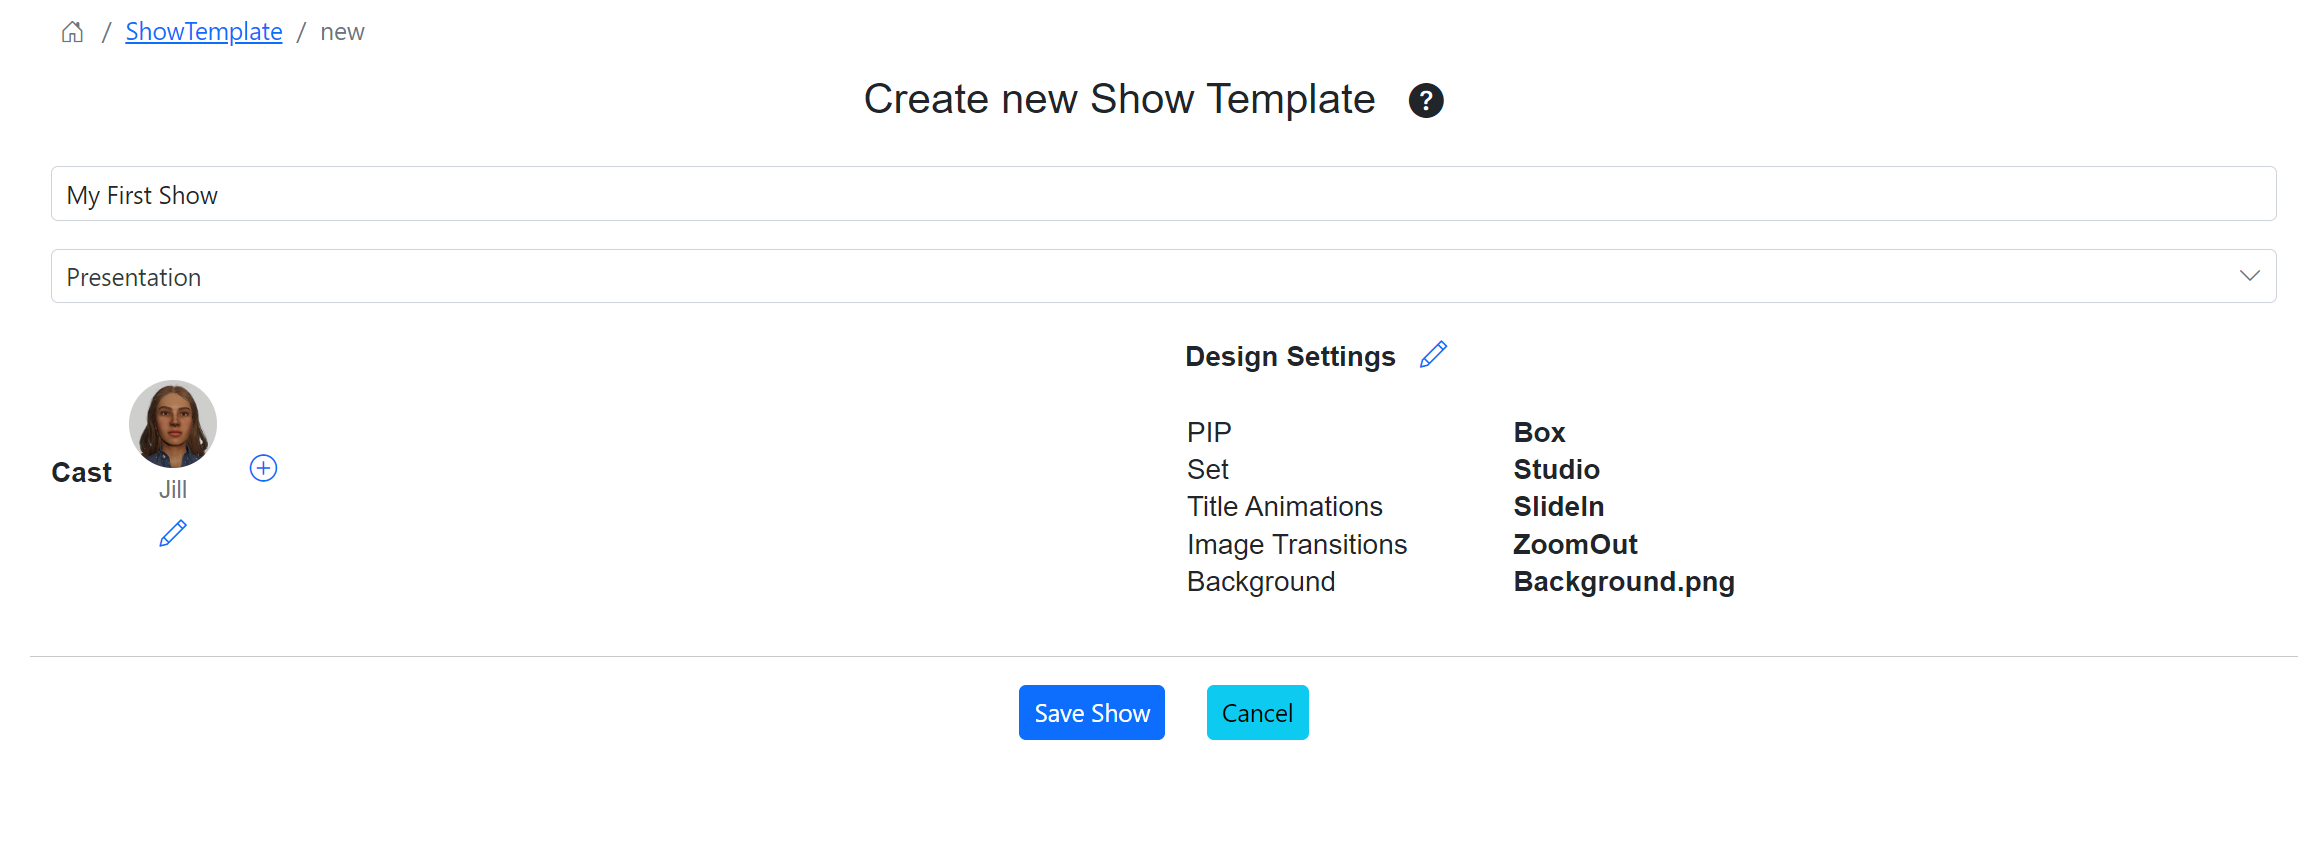
Click ‘Save Show’ to save the Show Template.
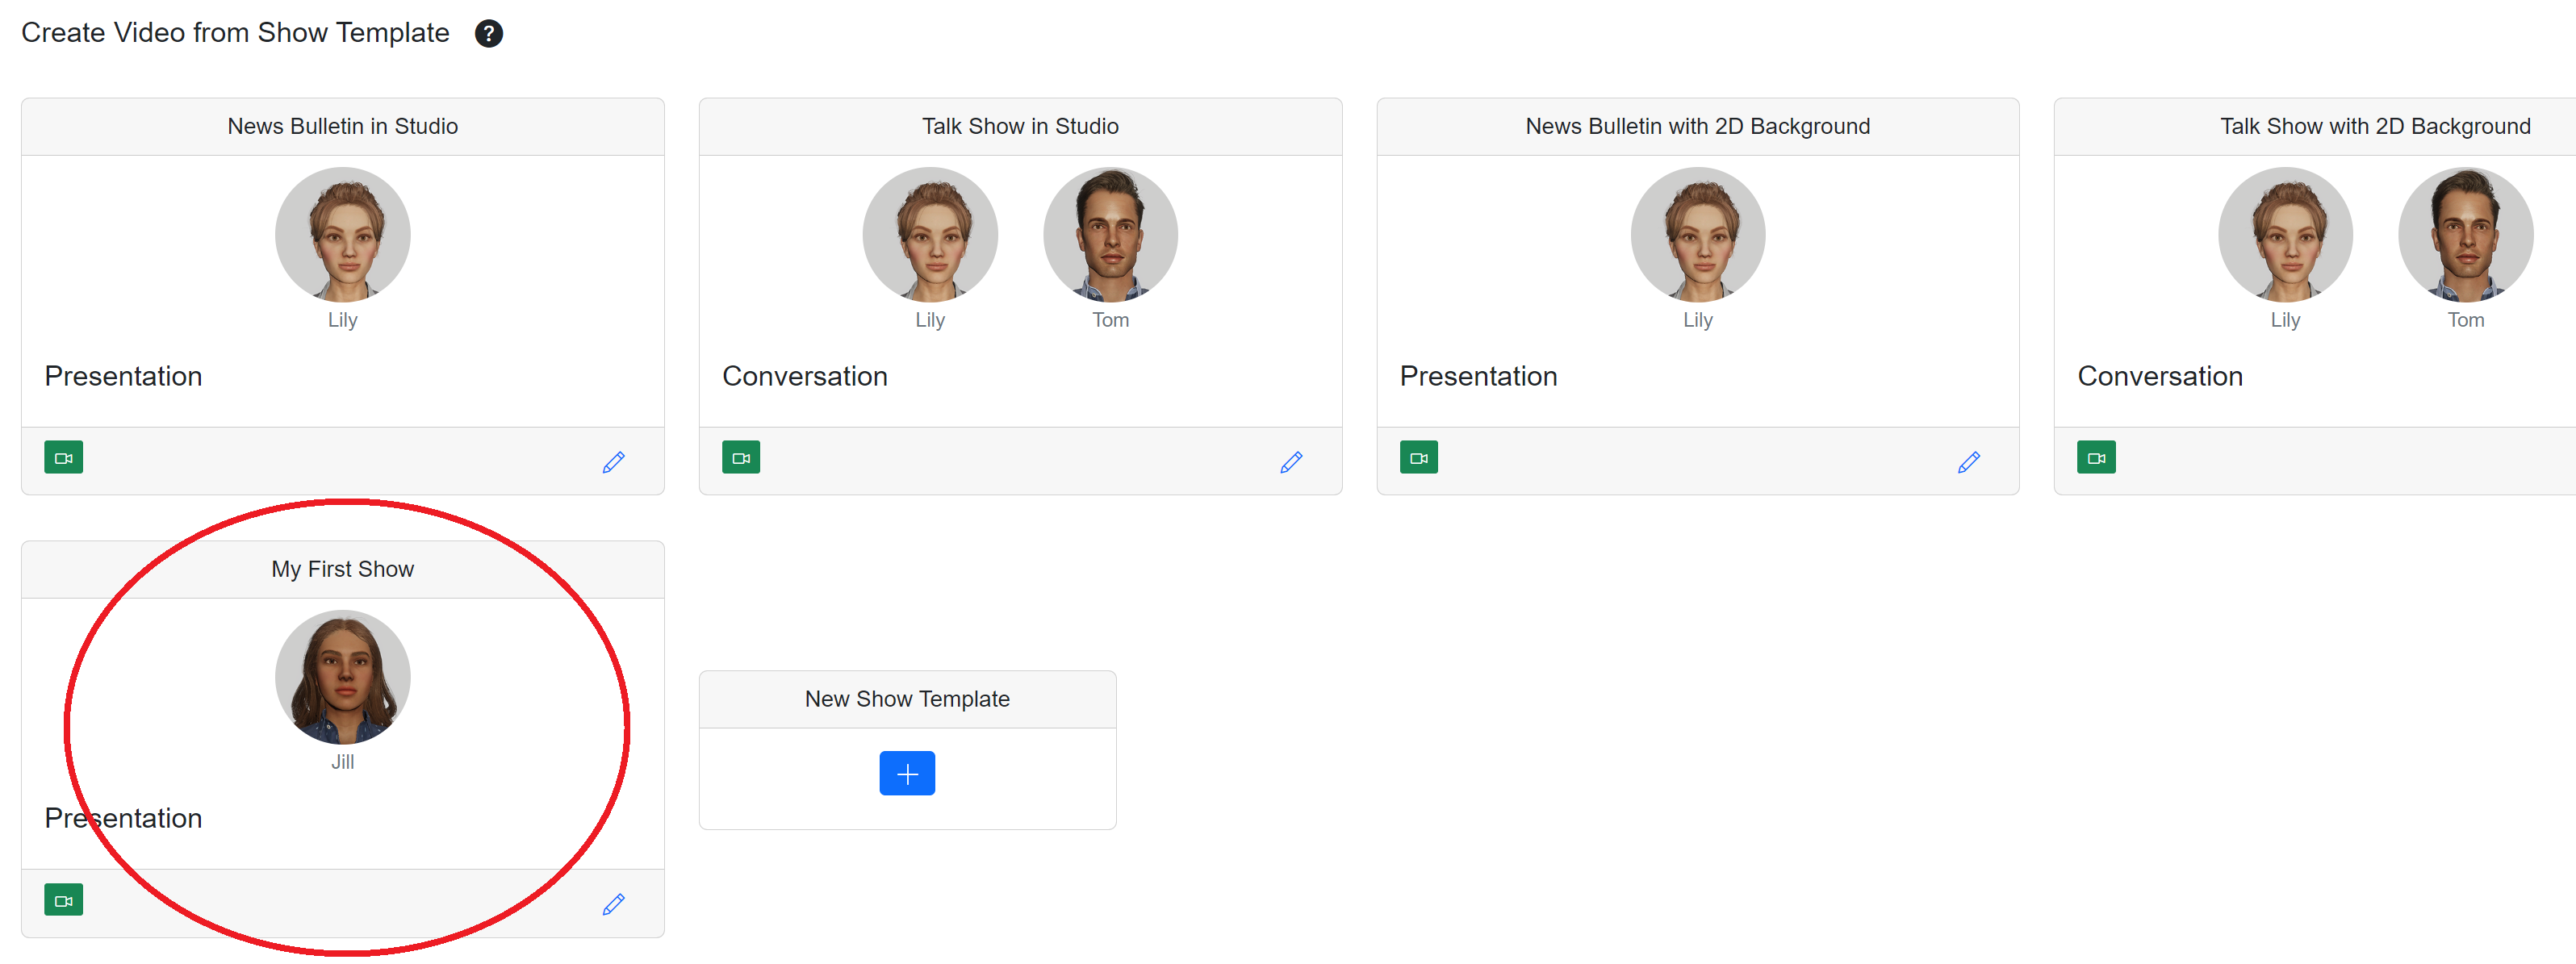
The dashboard will show the newly created show template. Clicking the Pencil icon will allow you to edit the show template.
You can now proceed to the next step of creating a video job with the newly added Show Template.